What Is A Miter Box Used For
There's a certain satisfaction that comes with creating something with your own two hands, isn't there? Whether you're a seasoned DIYer or just starting to dip your toes into the world of home improvement and crafting, having the right tools can make all the difference. And for those who appreciate precision and clean lines, there's a humble yet incredibly useful tool that often flies under the radar: the miter box.
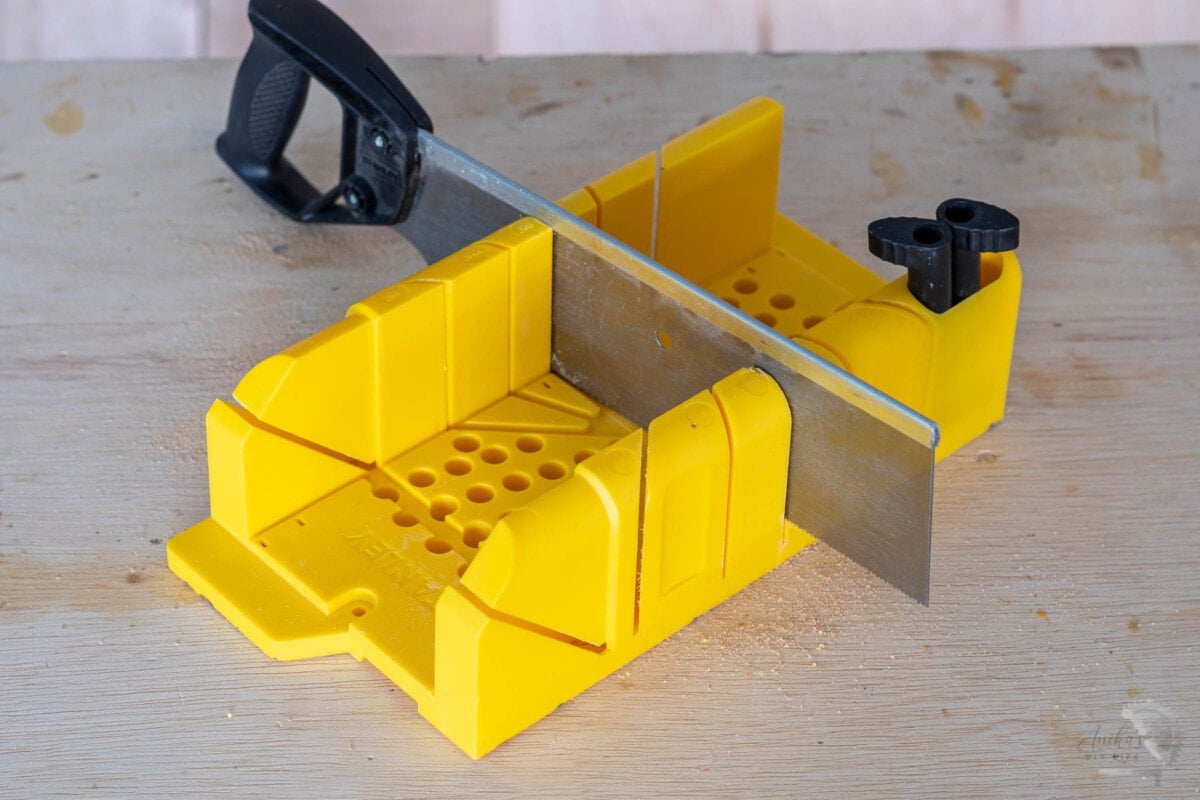
So, what exactly is a miter box used for? At its core, a miter box is a simple jig designed to guide a saw at a specific angle. Think of it as a helpful assistant for cutting wood, plastic, or even trim with perfect accuracy. Its primary purpose is to help you create those beautiful, seamless angled cuts – those little triumphs that elevate a project from "homemade" to "professionally done."
The benefits of using a miter box for everyday tasks are surprisingly significant. For starters, it eliminates the guesswork. Instead of struggling to hold your material at the right angle and hoping for the best, the miter box provides fixed slots that ensure your saw moves precisely where you want it. This means fewer mistakes, less wasted material, and ultimately, a much more enjoyable crafting experience. It’s about achieving that crisp, clean finish that makes your projects look fantastic.
Where do you typically see the magic of a miter box at work? You'll find it indispensable when installing picture frames. Those neat corners that fit together like puzzle pieces? That’s often the work of a miter box. It’s also a lifesaver for fitting decorative molding around windows and doors, or when creating custom shelving and built-in units. Even smaller craft projects, like building birdhouses or constructing decorative boxes, benefit greatly from its precision.
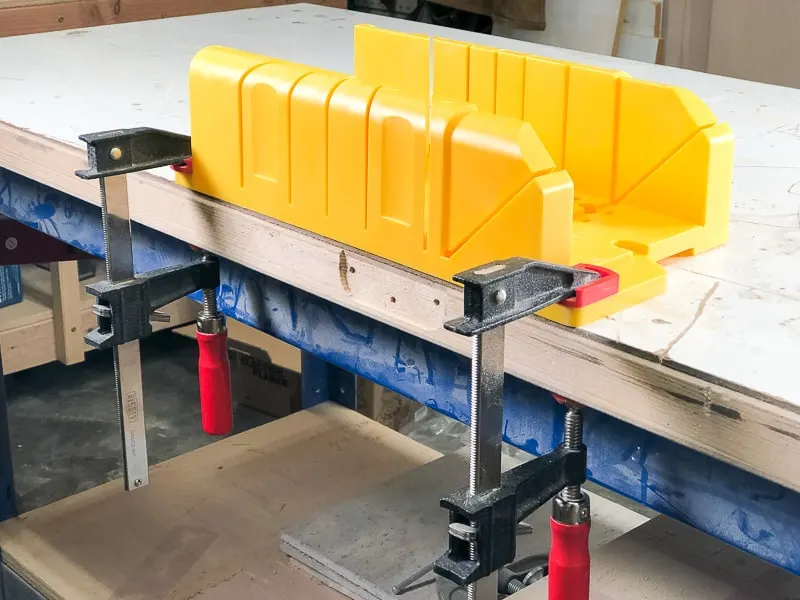
To get the most out of your miter box, a few practical tips can go a long way. First, ensure your saw fits snugly within the guide slots. A loose saw will lead to wobbly cuts. For greater stability, you can even clamp the miter box to your workbench. Secondly, always mark your cut line clearly on the material before placing it in the box. This helps you align it perfectly with the desired slot.

Don't be afraid to practice! Grab some scrap wood and try making a few different angles – 45 degrees for corners, 90 degrees for straight cuts. You'll quickly get a feel for how the box works and how to achieve those satisfyingly perfect joints. Experimentation is key to unlocking its full potential. The miter box might seem basic, but in the hands of a thoughtful crafter, it’s a gateway to a world of polished, professional-looking projects.