How To Restore Permanently Deleted Files In Windows 10

We’ve all been there, right? That sinking feeling in your stomach, the cold sweat breaking out, as you realize you’ve just done the digital equivalent of tossing your favorite vinyl record into a bonfire. Yep, we’re talking about accidentally deleting something permanently from your Windows 10 PC. Whether it was that killer presentation you spent all weekend on, your grandmother’s secret cookie recipe (the one that really uses extra butter), or even just a photo that captures a moment you’ll never get back, the thought of it being gone forever can be a real bummer. But before you start channeling your inner Luddite and considering a life off the grid, take a deep breath. Because, believe it or not, there’s often a way back from the digital abyss. Think of this as your friendly, no-stress guide to rescuing those lost files.
It's like finding a forgotten treasure map in an old book, isn't it? The thrill of discovery, the hope of a reward. That's what recovering deleted files can feel like, minus the scurvy and the questionable hygiene. And while technology can sometimes feel like a black magic box, understanding a few of its inner workings can empower you to be the sorcerer of your own digital domain. So, let's dive in, shall we? No complex jargon, no overly technical mumbo jumbo. Just a chill, chatty exploration of how to bring your beloved files back from the land of "Recycle Bin? Nope, gone-zo!"
The Great Deletion: A Moment of Panic
The dreaded "Are you sure you want to permanently delete this file?" prompt. It's designed to make you pause, to second-guess your actions. And yet, in our fast-paced, multitasking world, how many of us have clicked "Yes" with the automaticity of a seasoned gamer hitting the "skip cutscene" button? It's so easy to do! You’re juggling emails, Slack messages, maybe even trying to remember if you’ve fed the cat, and poof, a file that was just there, is now… well, not.

Think about it like this: your computer is a super-organized librarian. When you delete a file normally, it’s just moved to the "Returns" bin (the Recycle Bin). The librarian knows where it is, and it’s easy to pull it back. But when you permanently delete it, it’s like the librarian has actually shredded the book. However, the shredding isn't always perfect. Bits and pieces, the essence of the book, might still be floating around in the paper scraps. And that's where our recovery magic comes in.
The First Line of Defense: Checking Your Blind Spots
Before we go full-on digital detective, let's cover the absolute basics. Sometimes, the file isn't as gone as you think. It's like looking for your keys and realizing they were in your pocket all along. So, always, always, always start with the Recycle Bin. I know, I know, you said "permanently deleted," but sometimes our brains play tricks on us, or maybe you deleted it from a USB drive or a network location – those usually bypass the Recycle Bin. So, give it a quick peek. Click it open, have a scroll. You might be pleasantly surprised!
If it’s not there, don’t despair! This is where the real adventure begins. Remember that time you thought you lost your favorite song on Spotify, only to find it tucked away in a curated playlist you’d forgotten about? File recovery can feel a bit like that – digging through the less-obvious places.
When the Recycle Bin is Empty: The Power of Backup
This is the golden rule of digital life, folks: Back up your stuff! It’s the digital equivalent of having an umbrella when it’s cloudy. If you have a backup system in place, whether it’s Windows’ built-in File History, cloud storage like OneDrive or Google Drive, or an external hard drive, this is your moment to shine. You’ll be able to restore your files from a previous version with minimal fuss.
Think of File History as your PC’s personal time machine. It diligently saves copies of your files in different versions. So, if you accidentally delete something, you can just hop back in time and grab a pristine copy. It’s like having a cheat code for life, but for your data. To check if it's enabled: go to Settings > Update & Security > Backup. If it's on, you're golden. If not, consider this a sign from the digital gods to get it set up – your future self will thank you!
Cloud storage is another superhero in this scenario. Services like OneDrive, Google Drive, and Dropbox often have their own "trash" or "deleted files" folders where items are kept for a certain period. It’s like a digital lost-and-found that’s actively looking out for you. So, if you sync your important folders with the cloud, a quick check of their online interface might just save the day. It’s a modern marvel, isn't it? We’re living in a time where our data can be stored in the sky!
The "Oops, I Didn't Mean To!" Emergency Button: Previous Versions
Even if File History wasn't actively running, Windows sometimes creates "shadow copies" or previous versions of files, especially if System Restore points were created. This is less reliable than File History but can still be a lifesaver. It's like finding a hidden stash of snacks you forgot you had.
Here’s how to try it:
- Navigate to the folder where your deleted file was originally located.
- Right-click on the folder (not the empty space, the folder itself).
- Select "Restore previous versions."
- A window will pop up showing you available previous versions of that folder.
- Browse through the dates and times, and if you find a version from before you deleted the file, select it and click "Restore."
It's important to note that this feature relies on System Restore being enabled and having created restore points. If System Restore has been turned off or hasn't run in a while, you might not find any previous versions. It's a bit like expecting a letter from a friend who hasn't written in years – sometimes it arrives, sometimes it doesn't.
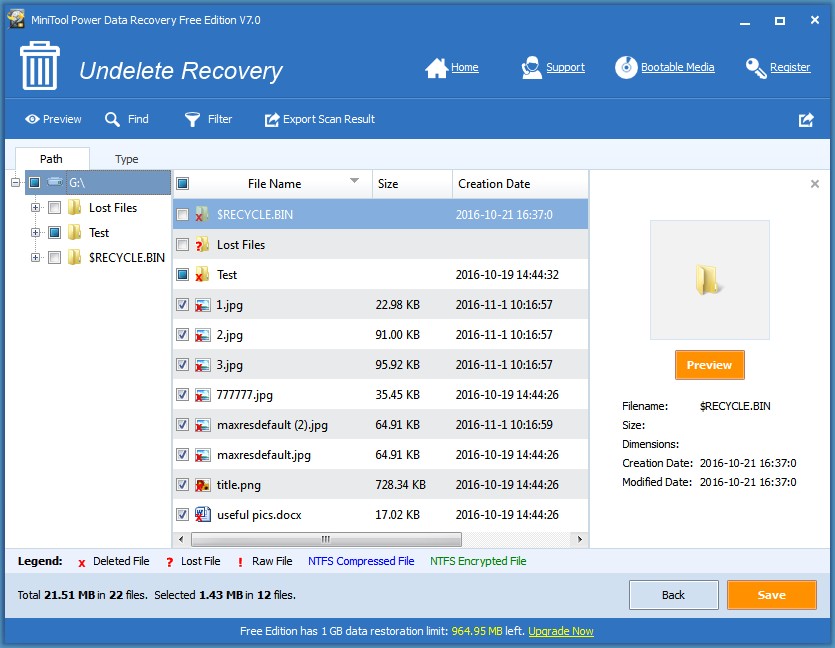
When All Else Fails: Data Recovery Software
Okay, so the built-in options haven't quite done the trick. Don’t hit the panic button just yet. This is where third-party data recovery software comes into play. These programs are designed to scan your hard drive for remnants of deleted files that are still lurking in the digital shadows. Think of them as highly specialized digital forensic tools, but way more accessible.
How does it work, you ask? When you "permanently" delete a file, Windows doesn't actually erase the data itself. It just marks the space that the file occupied as "free," meaning it's available for new data to overwrite. Until that space is overwritten, the original data is still there, just invisible to your operating system. Recovery software can often find and piece these fragments back together.
Choosing Your Digital Detective: Popular Recovery Tools
There are many data recovery programs out there, some free, some paid. For a more casual user who just needs to recover a few important files, a free option can often do the job. Some popular and well-regarded choices include:
- Recuva: This is a classic. It’s free, user-friendly, and surprisingly powerful for a free tool. It even has a wizard mode to guide you through the process, making it super accessible.
- EaseUS Data Recovery Wizard Free: Another solid contender, offering a generous free tier for recovering up to 500MB of data. It has a sleek interface and good recovery rates.
- Disk Drill: While the free version has limitations, Disk Drill is known for its robust features and ability to recover from a wide range of storage devices.
When choosing a tool, look for one that’s reputable, has good reviews, and ideally, offers a free trial or scan so you can see what’s recoverable before you commit to a purchase. It’s like test-driving a car before you buy it – you want to make sure it’s the right fit for your needs.
The Recovery Process: A Step-by-Step Guide
Once you've chosen your software, here's the general process:
- Download and Install: Download your chosen software. Crucially, do NOT install it on the drive where you lost the file. Install it on a different drive (like a USB drive or another partition) to avoid overwriting the very data you're trying to recover. This is super important! Think of it like treating a wound – you don't want to introduce more germs to the injured area.
- Run a Scan: Launch the software and select the drive where your file was located. Choose the scan type – a quick scan is faster but might miss things, while a deep scan takes longer but is more thorough.
- Preview and Select: After the scan, the software will present you with a list of recoverable files. Many programs allow you to preview files (like images or documents) to confirm they are intact. Select the files you want to recover.
- Recover: Choose a different location to save the recovered files. Again, do NOT save them back to the original drive. This is the final, critical step to avoid overwriting your precious data.
This process can feel a bit like putting together a jigsaw puzzle. You’re presented with a bunch of pieces, and you have to identify the ones that fit together to form the complete picture. Sometimes, the pieces might be a bit jumbled, or some might be missing, but often, you can get a pretty good result.
Important Considerations and Pro Tips
Act Fast: The longer you wait after deleting a file, the higher the chance that the space it occupied will be overwritten by new data. So, if you realize you’ve made a mistake, stop using that drive as much as possible and start the recovery process immediately.
SSD vs. HDD: Solid State Drives (SSDs) are much faster than traditional Hard Disk Drives (HDDs), but they also have a feature called TRIM that can make data recovery more difficult. TRIM automatically cleans up deleted data blocks to maintain performance. If you have an SSD, recovery might be less successful than with an HDD, but it's still worth a try!
Never Save to the Original Drive: I’m going to say it again because it’s that important. Never, ever save recovered files back to the same drive you are recovering them from. This is the most common mistake people make and it can permanently destroy any chance of recovery. It's like trying to put out a fire with gasoline – it only makes things worse.
Be Patient: Data recovery scans can take a long time, especially deep scans on large drives. Grab a coffee, put on some chill music, and let the software do its thing. It’s a marathon, not a sprint.
Professional Help: If the data is extremely critical (think business secrets, irreplaceable family archives) and software recovery attempts fail, you might consider professional data recovery services. These labs have specialized equipment and expertise, but they can be quite expensive. It's usually the last resort.
A Little Reflection: The Impermanence of Digital Things
It's funny, isn't it? We treat our digital files with such care, yet they can vanish with a single click. This whole process of data recovery, while technically focused, also touches on a more human truth: the impermanence of things, even the ones we create. We strive for permanence, for that perfect, everlasting digital artifact, but the reality is, things can be lost, corrupted, or simply disappear.
But here's the beauty of it: just as we can sometimes recover lost files, we can also learn from these experiences. The near-misses and the actual losses can serve as gentle nudges to be more mindful, to establish better habits like regular backups. It’s a reminder that while technology offers incredible power, it also comes with its own set of vulnerabilities. So, the next time you accidentally delete something, remember that a little knowledge, a bit of patience, and perhaps a good dose of digital luck, can often bring those lost treasures back to light. And isn't that a comforting thought in our ever-evolving digital world?