How To Put Curtain On Bay Window
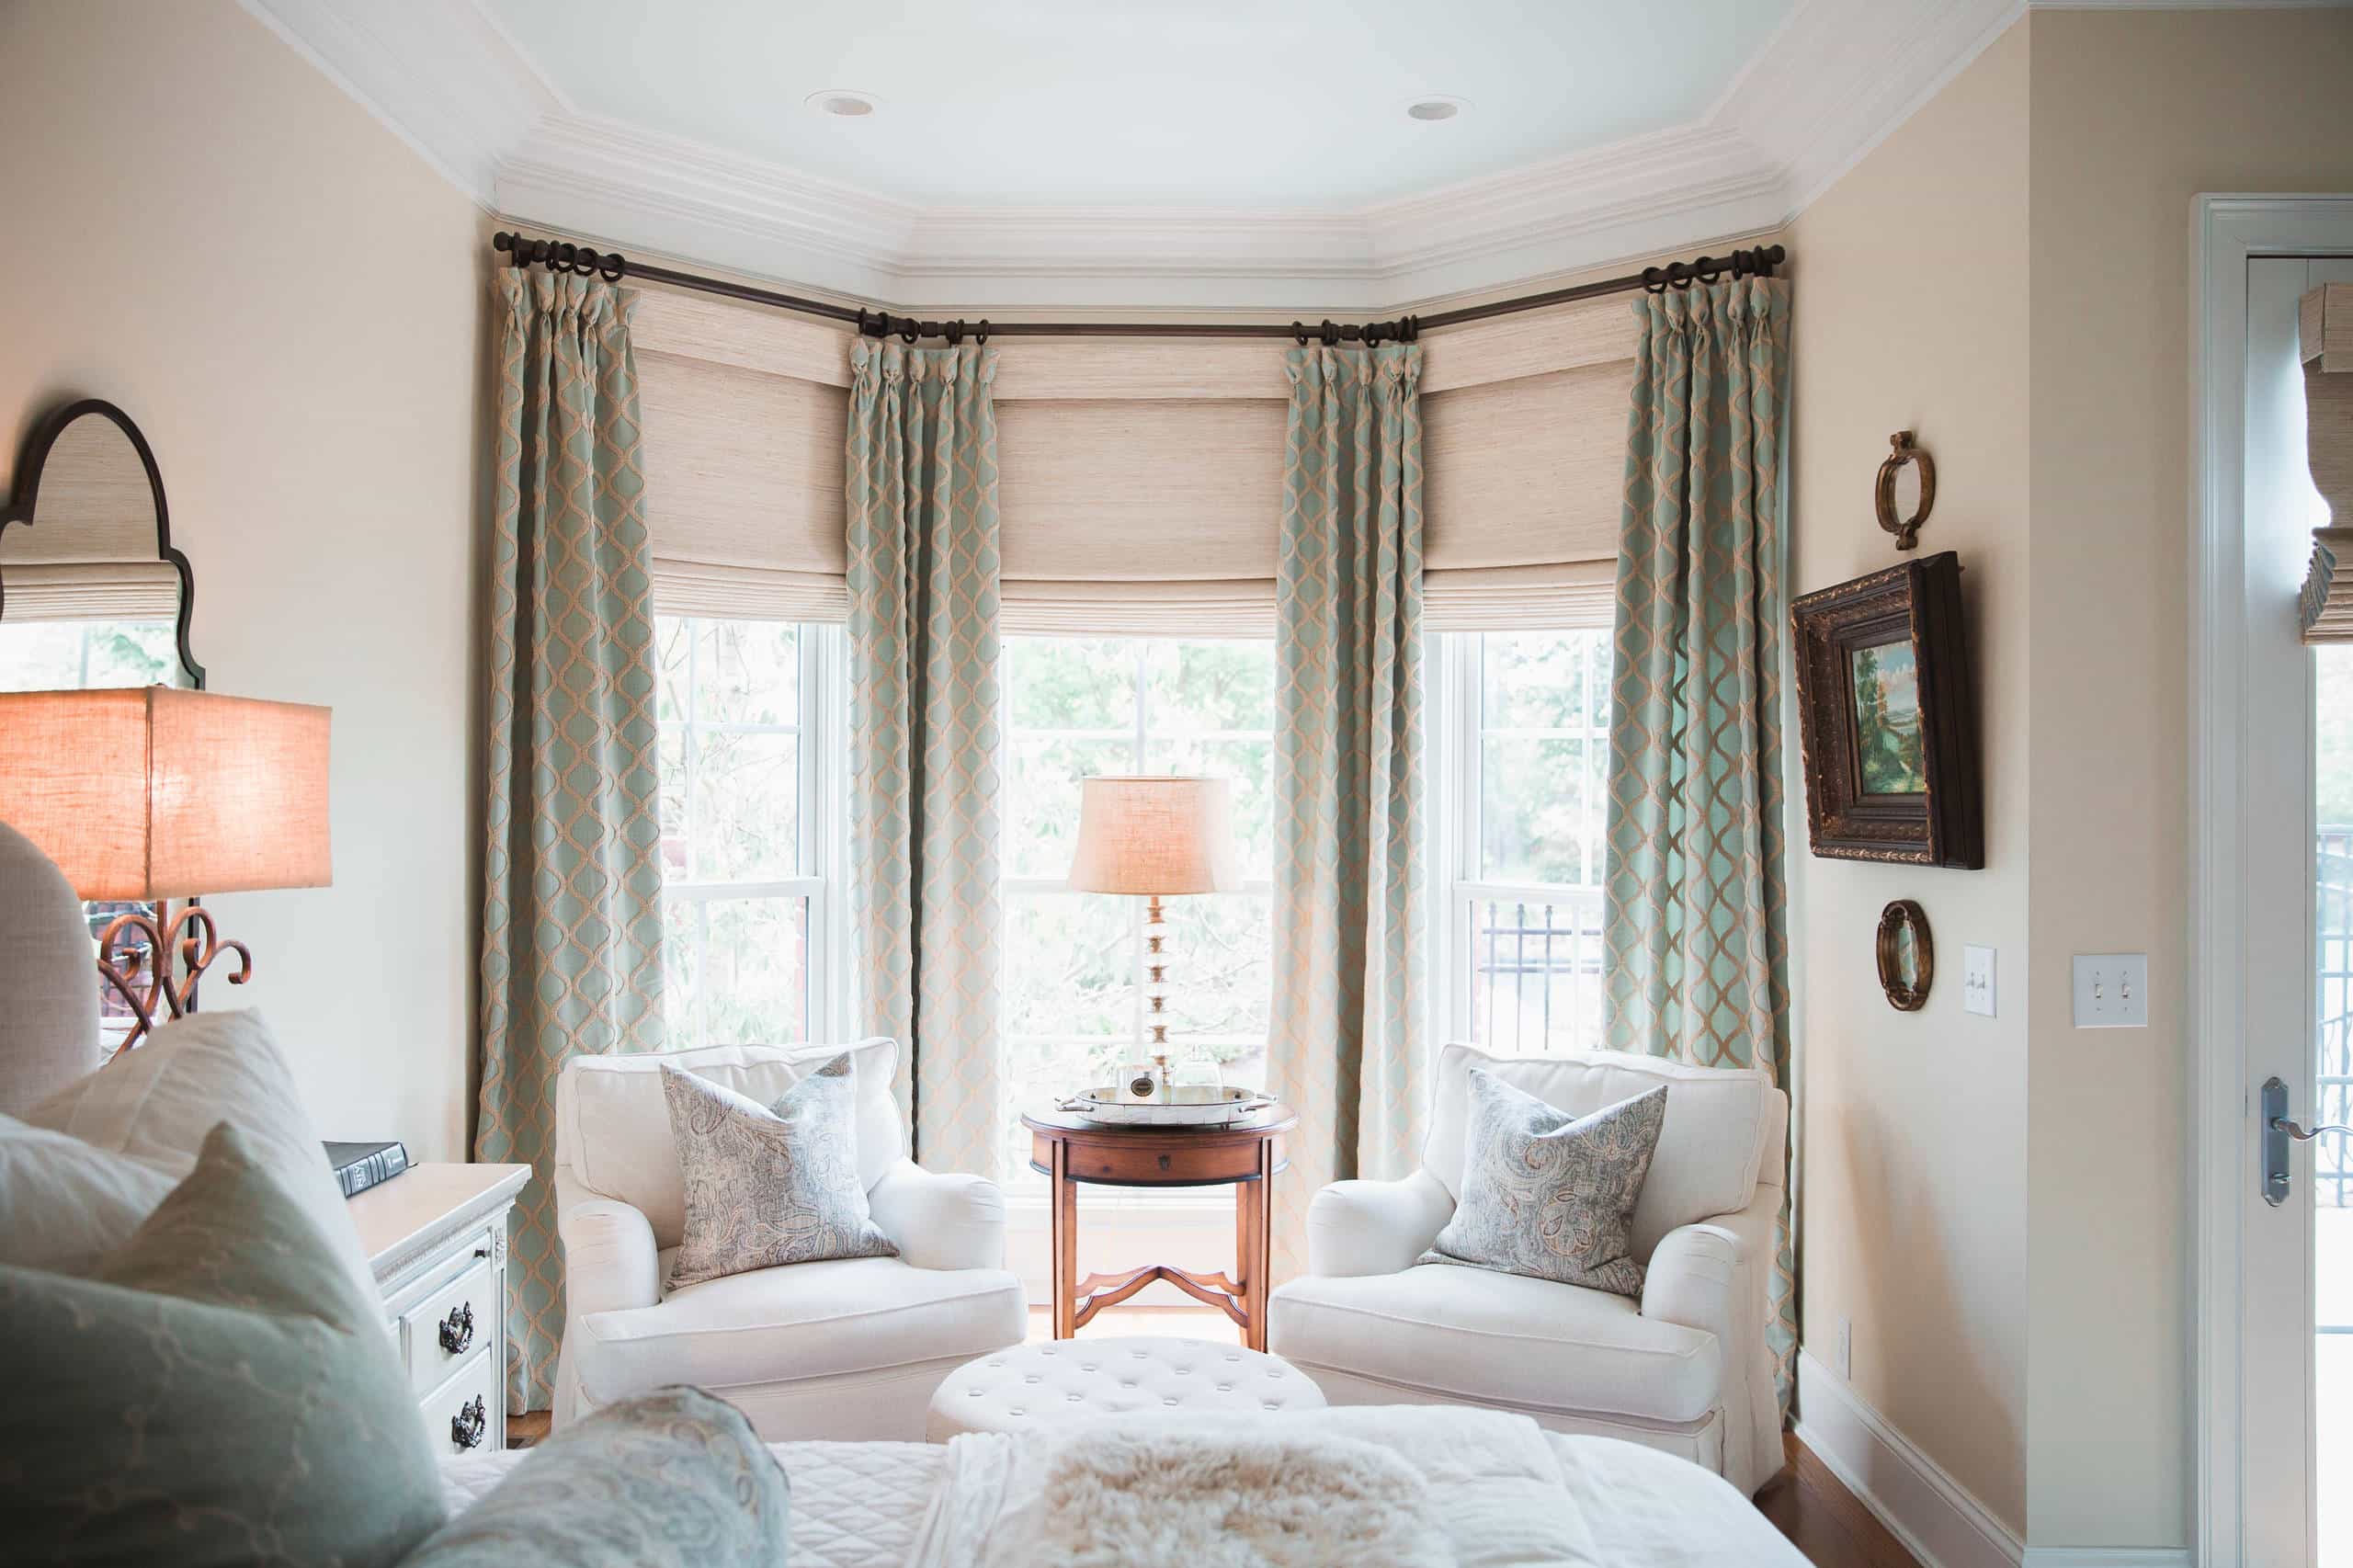
Oh, bay windows! They’re like the little personality quirks of a house. You know, the ones that make you smile because they’re just a little bit different and a whole lot charming. And when it comes to dressing up these lovely, jutting-out beauties, curtains are your best friend. Forget those boring, flat windows. Bay windows are practically begging for a bit of flair, and putting curtains on them is like giving your room a hug. It’s not just about blocking out the sun or adding privacy, though those are super important, of course. It’s about adding a whole new layer of cozy and elegance.
Think about it. A bay window has all those lovely angles, those little nooks where light just loves to play. And when you add curtains, you’re creating a whole new scene. It’s like setting up a mini-theater in your home! The light filters through, it dances, it creates shadows, and suddenly, your room feels alive. And putting them up yourself? That’s where the real fun begins. It’s a little bit of DIY magic, a dash of accomplishment, and a whole lot of "ta-da!"
The secret to a happy bay window curtain adventure lies in the curtain rod. Now, a regular straight rod just won’t cut it here. We’re talking about something special, something that can bend and curve to follow the beautiful lines of your window. So, the first step, the really crucial one that sets the whole mood, is finding the right rod. You’ve got a couple of fun options here. Some people go for a single, bendable rod. Imagine a flexible friend that can just curve around each section of your bay window. It’s like a super-stretchy superhero for your curtains. It's pretty neat to see how it just molds to the shape.
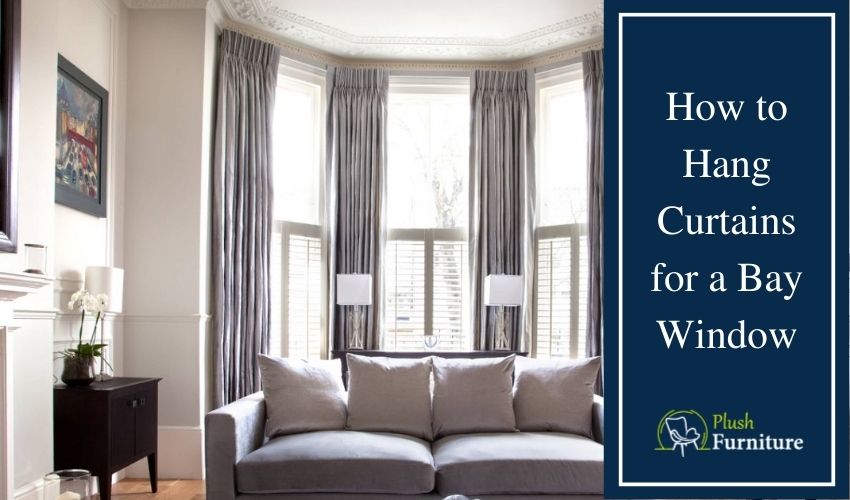
Another super popular choice, and one that often looks incredibly chic, is using a series of bay window curtain rods. These are usually made of smaller, straight sections that connect together with special corner pieces. Think of it like building with LEGOs, but for your window treatments! You get to connect them, angle them, and make them fit perfectly. It's like a puzzle, but one you want to solve because the end result is so gorgeous. You can often find these kits specifically designed for bay windows, and they make the whole process a breeze. They have all the bits and bobs you need.
Once you’ve got your special rod, it’s time for the fun part: the curtains themselves! Now, for a bay window, you’ve got choices. You could go for one long, continuous curtain that sweeps across all the sections. This gives a really flowing, dramatic look. Imagine a red carpet for your window! Or, you could opt for individual curtains for each section of the bay. This gives you more flexibility, and can look really neat too. You can open them independently, letting light in where you want it. It's like having little spotlights for your room.
The installation of the rod is where the real action is. It’s a bit of a dance. You'll be measuring, marking, and possibly drilling. But don't let that scare you! It's all part of the adventure. Imagine yourself as a skilled decorator, carefully placing each bracket. You want to make sure everything is level and secure, so your beautiful curtains have a stable home. You might need a level, a pencil, and a drill. These are your trusty sidekicks for this mission.
If you’re using those awesome, bendable rods, you might find they come with specific instructions on how to attach them. Sometimes, they’re designed to clip directly onto brackets. Other times, you might need to thread them through. The important thing is to follow the manufacturer's guide. They know their rods best! And if you’re going for the segmented rods with corner connectors, you’ll be fitting those pieces together. You’ll attach brackets to the wall or ceiling (depending on your setup and preference), and then the rod sections will click or screw into those brackets. The corner pieces are the clever bits that allow the rod to make those graceful turns. It's like a well-orchestrated ballet for your window hardware.
Now, let’s talk about curtains. For bay windows, you generally want curtains that hang a little longer to really emphasize the architectural charm. Think floor-length for a touch of glamour, or perhaps just skimming the windowsill for a cleaner look. The fabric choice is a whole other delightful discussion! Do you want something light and airy that lets the sunshine stream in? Or something thicker and more luxurious that creates a cozy cocoon? The possibilities are as endless as the colors of the rainbow.
When you finally get to hang the curtains on the rod, that’s the big reveal moment! It’s like the grand opening of your window’s new wardrobe. You’ll slide them onto the rod, making sure they move smoothly. And then, you step back. You admire your handiwork. You see how the light catches the fabric, how the curtains frame the view outside, and how they transform your room. It’s a moment of pure satisfaction. You’ve taken a standard window and made it a feature.

And the best part? You did it yourself! It’s not just about the curtains; it’s about the journey. It’s about the little challenges overcome, the measurements taken, and the satisfaction of creating something beautiful with your own two hands. It’s a little bit of pride, a whole lot of style, and a bay window that’s ready to dazzle. So next time you look at your bay window, don’t just see a window. See an opportunity for a curtain adventure! It’s a rewarding and surprisingly fun endeavor that makes your home even more special. And who doesn't love a bit of special?