How To Load Windows Xp From Usb
Remember Windows XP? That trusty operating system that powered so many of our computers for years? Well, believe it or not, there's still a fun and incredibly useful reason to learn how to load it from a USB drive. It might sound a bit retro, but for many folks, it's a fantastic way to breathe new life into older hardware, tinker with classic software, or even help out a friend with a vintage machine.
Why would you want to do this? For beginners, it's a great way to understand the fundamentals of operating system installation without the pressure of messing up a modern, complex system. Think of it as learning to drive in a classic car before hopping into a sports car! For families, perhaps you have an old laptop sitting in the attic that could be perfect for a child's first computer, or a dedicated machine for simple tasks like word processing or browsing the web. Loading XP from a USB keeps it simple and resource-light.
And for the hobbyists and retro enthusiasts? This is pure gold! You can set up dedicated machines for vintage gaming, run older specialized software that isn't compatible with newer Windows versions, or simply enjoy the nostalgia of a familiar interface. It’s like building a time capsule of computing! You might even be looking to recover data from an older hard drive on a machine that no longer boots conventionally. A USB installation can be a lifeline in those situations.

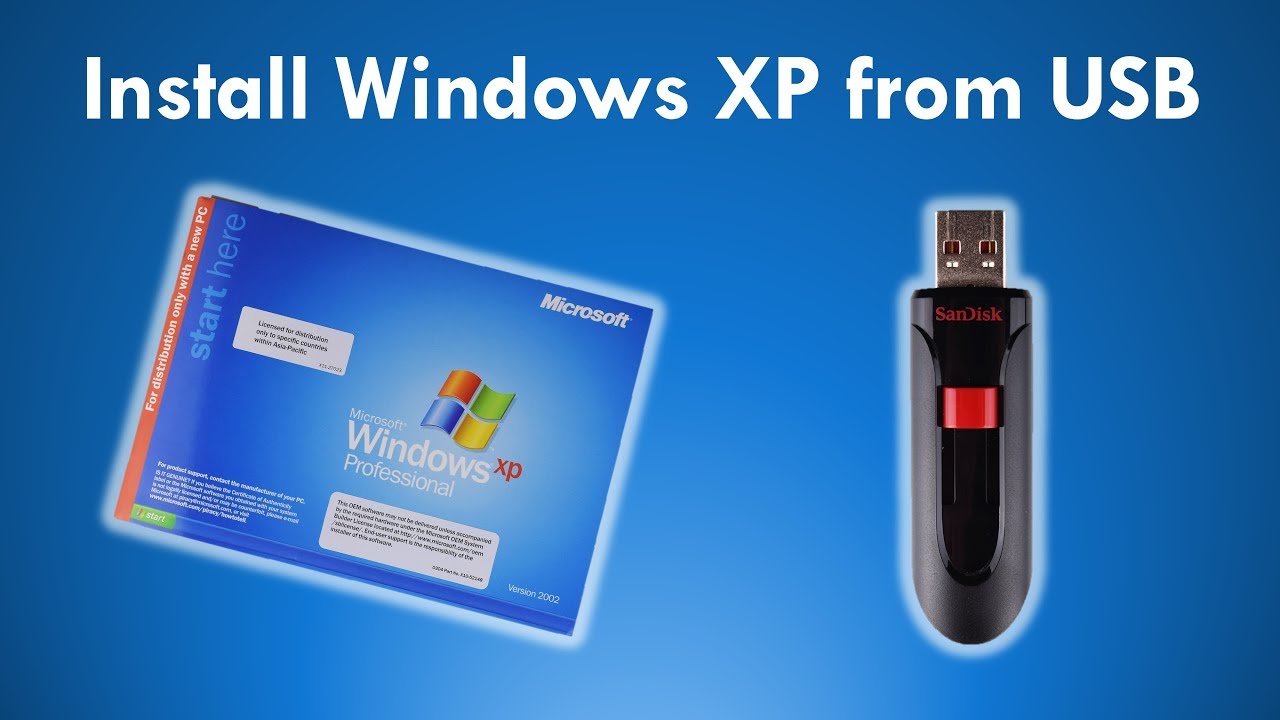
So, how do you actually do it? The core idea is to make a bootable USB drive that contains the Windows XP installation files. This essentially means copying the contents of your Windows XP installation CD onto a USB stick and telling your computer to treat that USB stick like a CD drive when it starts up. There are a few ways to achieve this, but the general process involves using a special tool to format the USB drive and copy the files over.
Here are some simple tips to get you started. First, you'll need a Windows XP installation disc or ISO file. You’ll also need a USB flash drive, ideally with at least 1GB of storage, though 2GB is more common and safer. Make sure you back up any important data from the USB drive, as the formatting process will erase everything on it. Then, you’ll need to download a utility program designed for creating bootable USB drives. There are several free ones available online; just search for "Windows XP bootable USB creator." Follow the instructions of your chosen tool carefully.
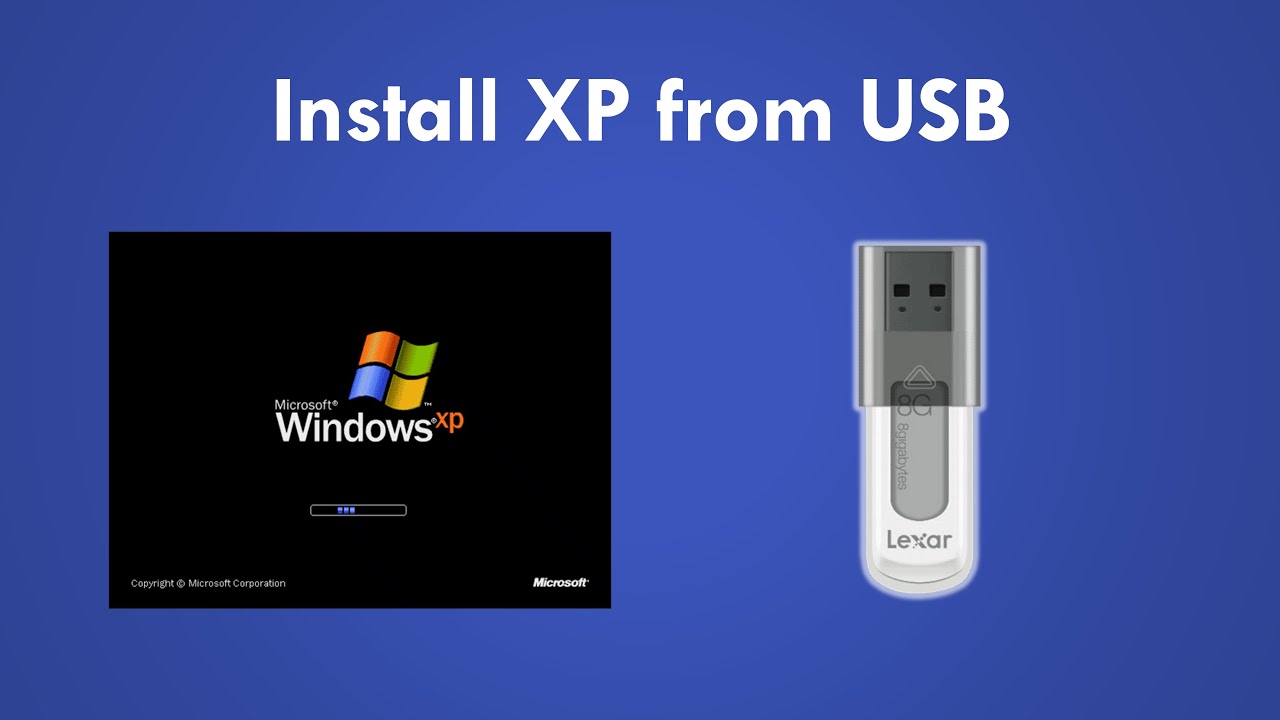
The next step is often changing your computer's BIOS settings. This is the very first thing your computer does when you turn it on. You'll need to tell it to boot from the USB drive instead of the hard drive. Don't worry; this is usually just a matter of pressing a specific key (like F2, F10, F12, or Delete) right after you power on your computer to enter the BIOS menu, and then navigating to the "Boot Order" or "Boot Sequence" settings. Once you've set the USB drive as the first boot device, you can save your changes and restart. Your computer should then boot from the USB, and the Windows XP installation process will begin!
It might take a little patience, but the satisfaction of bringing an old PC back to life or setting up a dedicated retro machine is really rewarding. It’s a fun journey into the past of computing, and a surprisingly practical skill to have in your toolkit. Happy tinkering!