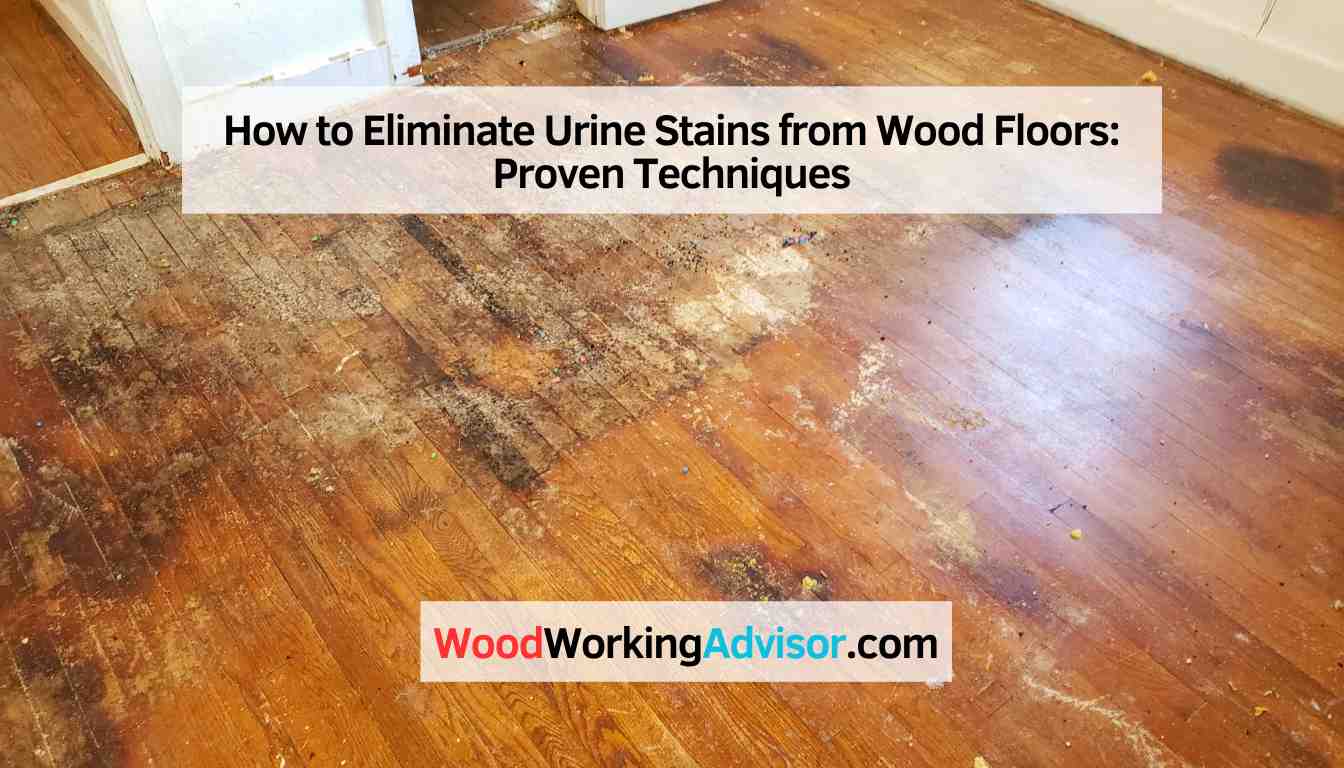
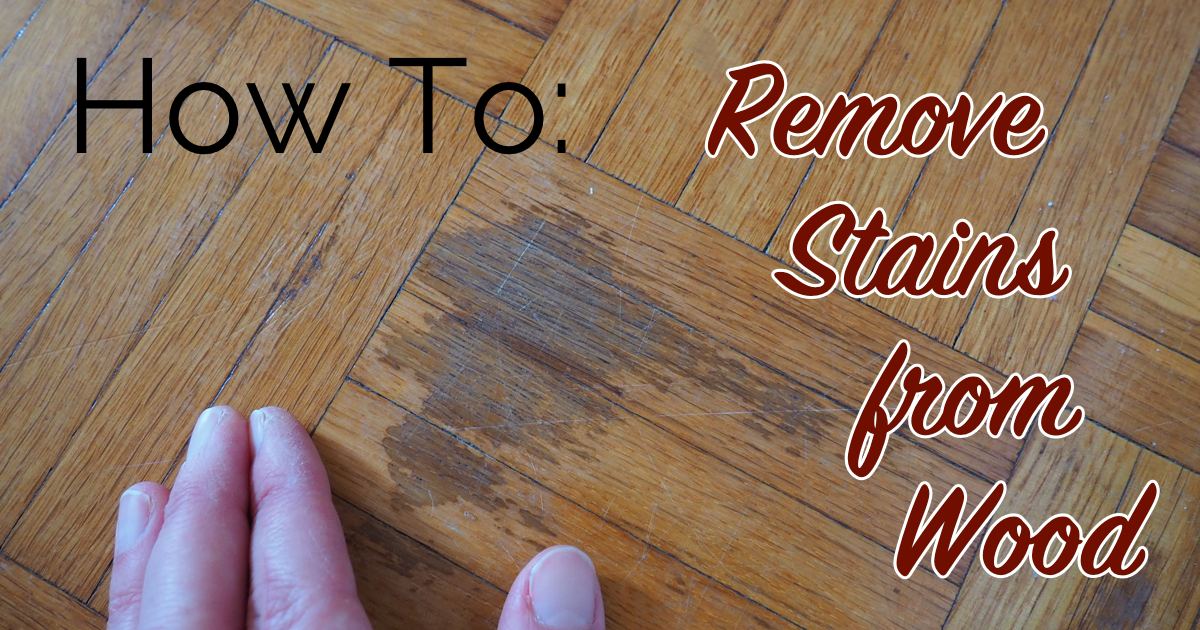
How To Get Stains Out Of Wooden Floor
Ah, wooden floors. They’re beautiful, right? Like a warm hug for your feet. They give your home that cozy, lived-in vibe that’s just chef’s kiss. But let’s be honest, they’re also a bit like a magnet for… well, everything. Life happens on those floors. And sometimes, life leaves a mark. A big, glaring, stain-shaped mark that makes you want to just throw a rug over it and pretend it doesn’t exist. We’ve all been there, haven’t we? That moment you’re enjoying your morning coffee, maybe humming a little tune, and then BAM! A rogue drip lands with the precision of a tiny, brown assassin. Or maybe your adorable furry overlord decides to have a little accident, or your kiddo decides that red juice is actually a new interior decorating trend. Whatever the culprit, those stains can feel like a personal affront to your otherwise pristine floor. But don't despair! Getting those unwelcome guests off your wooden floor doesn't have to be a Herculean task. Think of me as your friendly neighborhood floor whisperer, here to guide you through the gentle art of stain removal.
Now, before we dive headfirst into the nitty-gritty, let’s talk about the golden rule, the absolute, non-negotiable, save-your-floors commandment: act fast. Seriously, the longer a stain sits there, the more it becomes one with the wood, like a stubborn teenager who refuses to leave home. Imagine spilled red wine. If you catch it right away, it’s like a quick, awkward kiss goodbye. If you let it fester, it’s like a full-blown relationship that’s going to take a lot of work to break up. So, the moment you spot a spill, a drip, or a smudge, grab a clean cloth and start dabbing. No rubbing! Rubbing is like trying to erase a pencil mark by vigorously smearing it – you just end up with a bigger, messier problem. Think gentle pat-downs, like you’re comforting a crying baby. Less is more, and patience is your superpower.
The Usual Suspects and How to Tame Them
Let’s break down some common floor invaders. First up, the ever-present food and drink stains. Coffee, tea, wine, juice, that mysterious sauce your toddler flung off their high chair – they all have a knack for leaving their signature. For these, a good ol’ damp cloth is usually your first line of defense. If that doesn’t quite cut it, you can graduate to a mild dish soap solution. Just a tiny drop of dish soap in some warm water. It’s like a spa treatment for your floor, but way less expensive and without the cucumber slices. Again, damp, not soaking wet. You want the cloth to be moist enough to lift the stain, not to create a mini-flood on your hardwood. Wipe gently, following the grain of the wood. Then, a quick wipe with a clean, damp cloth to rinse off any soap residue, and finally, a dry cloth to buff it back to its former glory. Easy peasy, lemon squeezy. Although, please, don’t try to remove lemon stains with actual lemons. That’s a different kind of problem altogether.

Then there’s the dreaded grease and oil. You know, that moment you’re frying up some bacon and a little grease splatter ballet happens on your floor? Or perhaps you've been doing some DIY and dropped a bit of motor oil. These can be a bit trickier because they like to soak in. For these guys, we need something a little more absorbent. Enter the humble baking soda. It’s like a tiny, white superhero for greasy situations. Sprinkle a generous amount of baking soda directly onto the grease stain. Let it sit for a few hours, or even overnight if it’s a stubborn one. The baking soda will work its magic, absorbing the oil. Once it’s had its fill, vacuum it up. You might need to repeat this process, but it’s usually very effective. Think of it as the baking soda having a deep-tissue massage with the grease, working all those oily bits out. If baking soda isn’t enough, you can try a mineral spirit solution on a very clean cloth, but test it in an inconspicuous area first. Mineral spirits are a bit more heavy-duty and can sometimes affect the finish, so use them with caution, like you’re handling a delicate Fabergé egg. And for goodness sake, make sure the area is well-ventilated. You don’t want your house smelling like a paint factory.
When the Little Things Escalate
Now, let’s talk about those tougher characters. We’ve got ink stains. Oh, the ink! Whether it’s a rogue pen leak or a marker-wielding toddler, ink is a notorious stain. For fresh ink, try applying a small amount of rubbing alcohol to a cotton ball or swab. Gently dab at the stain, working from the outside in. Be patient! This can take a while, and you’ll likely need to use a few cotton balls. Imagine you’re an archaeologist carefully excavating a delicate artifact. It requires precision and a steady hand. Once the ink is gone, wipe the area with a damp cloth and then dry it. For older, dried ink, it gets a bit tougher. You might need to try a commercial ink remover specifically designed for wood, or consult a professional. Sometimes, you just have to admit defeat and call in the cavalry.
Then there are water stains. You know, those pale rings left behind by wet glasses or vases that you swear you put a coaster under. These are usually caused by moisture that has seeped into the finish. For light water rings, you might be able to get rid of them with a bit of mayonnaise. Yes, you read that right. Mayonnaise. Spread a thin layer on the stain, let it sit for a few hours, and then wipe it off. The oil in the mayonnaise is thought to help lift the moisture from the finish. It sounds utterly bizarre, I know, but it often works wonders. It’s like a secret handshake between your floor and a condiment. For darker water stains, which indicate moisture has gone deeper, you might need a wood polish or even light sanding and refinishing. If it looks like the wood itself has changed color, you’re probably looking at a deeper issue.
And what about those mysterious pet stains? We love our furry friends, but sometimes they leave us with… presents. The key here, beyond immediate cleanup, is odor removal and discoloration. For fresh accidents, blot up as much as possible, then use a pet-specific enzymatic cleaner. These cleaners are brilliant because they break down the organic matter that causes stains and odors. Follow the product instructions carefully. You want to make sure you get all the residue. For older stains, it can be more challenging. You might need to repeat the enzymatic cleaner treatment. If the stain has set in and discolored the wood, you might be looking at a more involved process. Think of it as your pet leaving a permanent abstract art piece. Sometimes, you can lighten the stain by gently sanding the affected area and then applying a matching wood stain and finish. But this requires a steady hand and a good eye for color matching. It’s like trying to recreate a masterpiece with a tiny paintbrush.
The Gentle Touch: What NOT to Do
Now, it’s just as important to know what not to do. This is where the "easy-going" part really comes in. Think of these as the "don'ts" that will save you a headache, or worse, a floor refinishing bill. First off, never use excessive water. I cannot stress this enough. Wooden floors and excessive water are not friends. They’re like a cat and a bath – a recipe for disaster. Too much moisture can warp the wood, cause it to swell, and even damage the finish, leading to those dark, unsightly stains that are much harder to get rid of. So, always wring out your cloths thoroughly. Damp, not dripping.
Secondly, avoid harsh chemicals and abrasive cleaners. Things like bleach, ammonia, or abrasive scouring pads are the arch-nemesis of your wooden floor. They can strip the finish, dull the color, and even scratch the wood. Imagine trying to polish a delicate antique with steel wool. It’s just not going to end well. Stick to gentle, pH-neutral cleaners specifically designed for wood floors, or the DIY options we’ve discussed. Think of it as treating your floor with respect, like you’d treat a beloved family heirloom. You wouldn’t use a sledgehammer to fix a tiny crack, would you?
Thirdly, don’t use steam cleaners. I know, steam cleaning sounds so thorough and effective, but for most sealed wooden floors, it’s a big no-no. The heat and moisture from steam can penetrate the finish and cause serious damage to the wood. It’s like giving your floor a sauna that’s just a little too hot. Stick to manual cleaning methods that offer more control over moisture levels.
And finally, don’t scrub aggressively. As I mentioned earlier, rubbing is rarely the answer. Gentle dabbing and wiping are your best friends. If a stain isn’t coming up with gentle persuasion, don’t resort to brute force. That’s when you start damaging the wood itself. It’s like trying to force a lock that’s stuck – you’re more likely to break it than open it.
When to Call in the Professionals
Sometimes, no matter how hard you try, a stain is just too stubborn, or the damage is too extensive. That’s perfectly okay! You’re not a professional floor restorer, and that’s a good thing. If you’re dealing with deep gouges, significant water damage, or stains that simply won’t budge after multiple attempts with gentle methods, it’s time to call in the experts. Think of it as knowing when to tap out in a wrestling match. A professional floor refinisher has the tools, the knowledge, and the experience to tackle even the toughest situations. They can sand down damaged areas, re-stain, and re-seal your floors, bringing them back to their former glory. It’s an investment, for sure, but sometimes it’s the most sensible and effective solution to a problem that’s beyond your DIY capabilities. And hey, it gives you more time to enjoy your coffee without worrying about that next rogue drip!
So there you have it. A no-fuss, easy-going guide to tackling those pesky stains on your wooden floors. Remember, a little bit of speed, the right gentle touch, and knowing when to call for backup can keep your floors looking beautiful for years to come. It’s all about embracing the occasional oopsie and knowing how to bounce back. Happy cleaning!