How To Fix Out Of Focus Video In Premiere Pro
Ever shot a video, feeling like a total pro, only to discover later that everything's a blurry mess? It’s like your amazing footage decided to go on vacation from clarity! But hey, don't toss that camera out the window just yet. Because today, we're diving into the magical world of Adobe Premiere Pro and uncovering how to rescue those fuzzy masterpieces.
Think of your video as a delicious cake. Sometimes, the oven temperature is just a tad off, and the cake comes out a little… well, underbaked in the crispness department. That's kind of what happens with out-of-focus video. It’s not ruined, it just needs a little expert sprucing up. And that’s where Premiere Pro shines. It’s your video’s personal trainer, life coach, and fairy godmother all rolled into one!
Why is fixing blurry video so satisfying? It’s like finding a hidden treasure! You took the effort to capture those moments, those laughs, those epic views. To have them rendered unwatchable is a bummer. But when you can pull them back from the brink, when you can bring that sparkle back to your subject's eyes, or make that mountain range pop with detail again… that’s pure magic. It’s the thrill of the salvage, the triumph over technical hiccups.
And the best part? You don't need a degree in rocket science to do it. Premiere Pro has tools that are surprisingly intuitive. They’re like secret weapons that make you feel like a video wizard. So, let’s imagine you’ve got a clip where your friend’s face is looking a bit like a watercolour painting left in the rain. Not ideal, right?
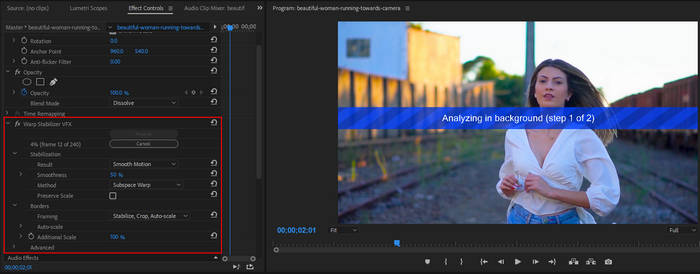
First off, you’ll want to open up your project in Premiere Pro. It’s like opening the door to your digital editing studio. Once your blurry footage is in the timeline, you’re ready to work your wonders. We’re going to explore a few key players in the Premiere Pro arsenal.
One of the most common ways to tackle this is with the "Sharpen" effect. It sounds simple, and it is! You find it under the "Video Effects" panel, usually tucked away in the "Blur & Sharpen" category. Dragging this onto your clip is the first step. Now, don't go crazy with it! Think of it like adding salt to your food. A little bit enhances the flavour, too much can ruin it. You’ll see a slider for "Amount." Slowly increase this, watching your video play back. You're looking for that sweet spot where details start to emerge, where things look crisper, but not unnaturally crunchy.
It’s truly amazing what a small adjustment can do. That slightly soft smile can suddenly become a radiant grin. Those distant trees can go from smudgy green blobs to distinct individuals. It's like giving your video glasses!
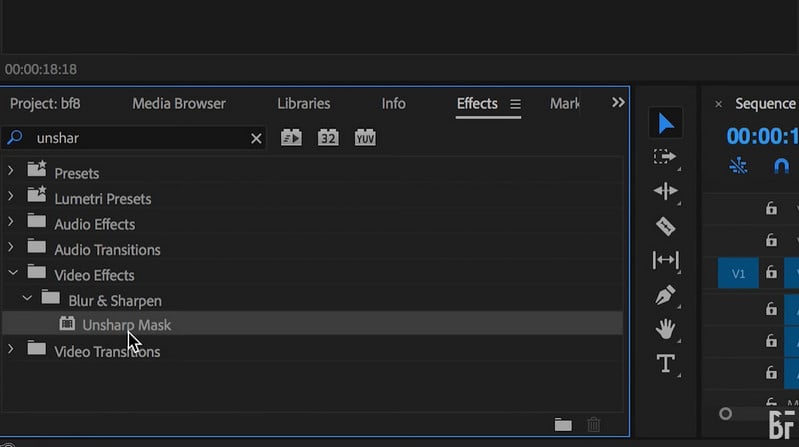
Another helpful friend in this quest is the "Unsharp Mask" effect. This one is a bit more advanced, but still super accessible. It works by detecting edges in your image and making them sharper. You have a bit more control here with settings like "Radius" and "Threshold." The "Radius" controls how wide an area around the edge is sharpened, and the "Threshold" determines how much contrast an edge needs to have to be considered an edge. Again, it’s all about experimentation. Play around with these sliders, just a tiny bit at a time, and see how your video transforms. It’s like being a chef fine-tuning a recipe!
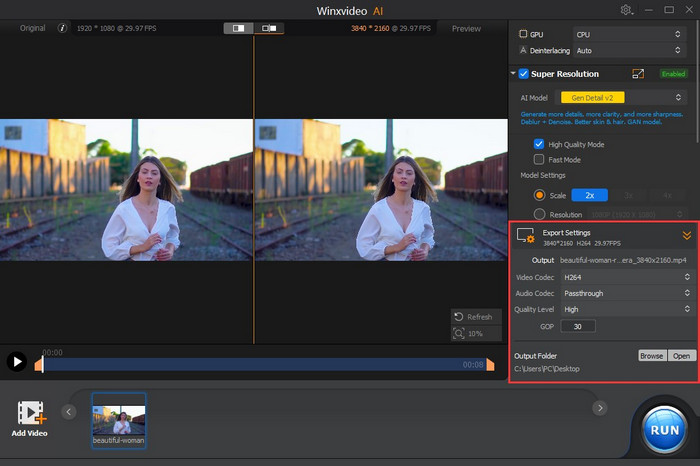
Remember that grainy footage from your old camcorder? Sometimes, it looks a little soft because of the recording quality. Even in those cases, these sharpening tools can help bring a little life back into it. It's not about creating something that was never there, but about enhancing what is there.
And what if the focus issue is more about your subject being slightly in front of or behind the actual focus point? This is where things get even more interesting. While you can't magically move the camera’s focus after shooting, you can sometimes use clever editing to draw the viewer's eye. Imagine a shot where your subject is a little soft, but the background is tack sharp. You can use techniques like blurring the background even further using the "Gaussian Blur" effect (yes, even blurring can help with focus!) and then sharpening your subject more intensely. This creates a sort of artificial depth of field, making your subject stand out more clearly, even if it wasn’t perfectly in focus initially.
It’s like using a spotlight in a theatre. Even if the actor is a little shy, the spotlight makes them the undeniable star. This kind of trickery is what makes video editing so much fun. You’re not just assembling clips; you’re sculpting the viewer’s experience.
Don't forget about the "Lumetri Color" panel too! Sometimes, adjusting contrast and exposure can indirectly make a soft image appear sharper. Increasing contrast, for example, can make the difference between light and dark areas more pronounced, which can give the illusion of more detail. It’s a subtle but effective trick.
The beauty of these tools in Premiere Pro is that they are non-destructive. This means you can play with the settings, go crazy, and then dial it all back if you don’t like it. Your original footage is always safe and sound. This encourages you to experiment and learn without fear. It’s a safe space for your creativity to run wild!
So, the next time you’re faced with a video that’s lost its sharp edge, don’t despair. Grab a cup of your favourite beverage, settle in front of Premiere Pro, and get ready to work some digital magic. You might be surprised at just how much clarity and life you can bring back to your footage. It’s a rewarding process, and the results can be truly spectacular. It’s about taking a potentially disappointing outcome and turning it into a moment of triumph, proving that sometimes, even the blurriest beginnings can lead to the clearest, most engaging endings.