How To Drill Into Tiles Without Cracking

So, you’ve got these gorgeous tiles gracing your kitchen backsplash, or maybe that chic bathroom wall. They’re like little pieces of art, aren’t they? And then, bam, you have the brilliant idea to hang a picture, a shelf, or even a ridiculously heavy mirror. Suddenly, those beautiful, smooth surfaces look a bit… unyielding. The thought of drilling into them can send shivers down your spine, conjuring images of shattered ceramic and a DIY disaster worthy of a reality TV show blooper reel.
But fear not, fellow humans with home improvement aspirations! I’m here to tell you that drilling into tiles without turning them into abstract art is not only possible, but it can be surprisingly… well, not exactly fun in the way a roller coaster is fun, but it can be deeply satisfying. It’s like figuring out a little puzzle, a secret handshake with your own house. And when you’re done, and that new shelf is holding your favorite collection of vintage teacups, you feel like a tiny DIY wizard. Poof! Magic.
The Art of the Gentle Approach
Think of it this way: your tiles have been through a lot. Fired in a kiln, glazed to perfection, probably endured more dropped spoons than you’d care to admit. They’re tough cookies. But they also have a delicate side. They don't appreciate a brute force approach. No, they prefer a more sophisticated dance. It’s all about finesse, my friends. Imagine you’re trying to convince a very proud cat to let you give it a belly rub. You wouldn’t just lunge, would you? You’d approach slowly, with gentle pats and soft words. Drilling tiles is a bit like that, but with a drill and a special kind of bit.
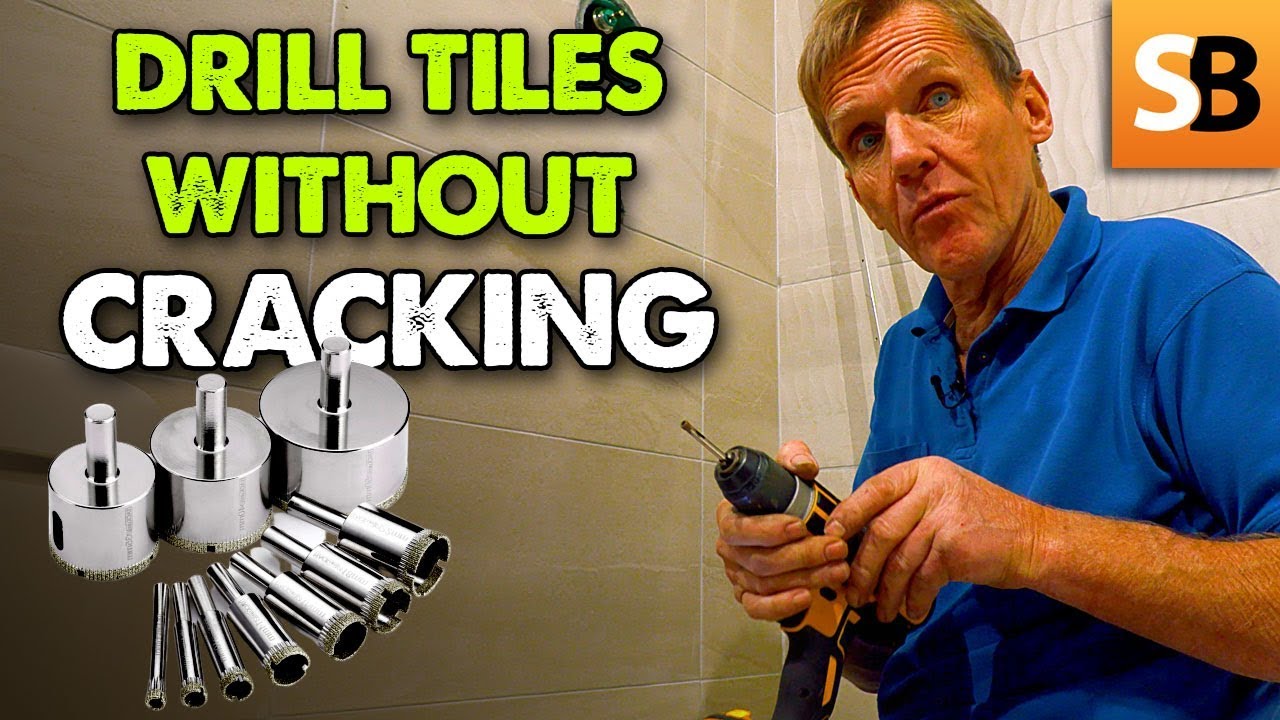
The secret weapon in this domestic espionage mission is a special drill bit. These aren’t your everyday, rough-and-tumble wood drill bits. Oh no. These are the ballet dancers of drill bits, designed to glide through surfaces like a figure skater on a freshly Zambonied rink. They’re often called carbide-tipped bits or tile and glass bits. They have a pointy, spear-like tip that’s designed to score the surface rather than aggressively bore through it. It’s like starting with a gentle scratch on a lottery ticket before you really commit.
It’s like figuring out a little puzzle, a secret handshake with your own house. And when you’re done, you feel like a tiny DIY wizard.
Now, let’s talk about the drill itself. You don’t need a construction site-grade behemoth. A standard cordless drill will do the trick. The key here is speed control. You want to start slow. Think of it as your warm-up lap. We’re not trying to win a drag race; we’re trying to get the job done cleanly. A high speed on a tile is like trying to whisper during a rock concert – it just doesn’t work. It generates heat, it makes the bit jump around, and that’s when the cracking party begins.
The Calming Ritual
Before you even think about powering up, there’s a little pre-drill ritual that’s surprisingly important. Think of it as a moment of zen for your project. First, you need to mark your spot. A simple pencil mark is fine, but sometimes, especially on glossy tiles, it can wander. That’s where a little piece of masking tape comes in. Stick it over your spot. It gives the drill bit a bit more grip, like a tiny adhesive landing strip for your pointy friend. Some people even use a dab of painters' tape right on the spot, which can help prevent slippage.
Then, there's the cooling down. This is where things get a little quirky. As you drill, the friction creates heat, and heat is the enemy of the tile. So, you need to keep things cool. Many DIY gurus swear by a little stream of water. You can have a spray bottle handy, or even a small cup of water. A friend holding a cup and offering gentle sips to the drill bit is also a heartwarming, albeit slightly comical, option. It’s like giving your drill a spa treatment. Alternatively, some folks use a bit of WD-40 or a specialized lubricant. Whatever you choose, the goal is to keep that bit from overheating, preventing stress fractures.
When you start drilling, it’s crucial to apply steady, gentle pressure. Don't push too hard, or you’ll be tempting fate. Let the bit do the work. It’s like guiding a child through their first steps – support them, encourage them, but don’t shove them along. As you break through the glaze, you might feel a slight change in resistance. Keep going, slowly and steadily. Once you've made your hole, don't just yank the drill out. Slowly back it out, again with gentle pressure. It’s a graceful exit, not a hasty retreat.

And the best part? When you’re finished, and that screw is firmly in place, holding your new treasure, there’s a profound sense of accomplishment. You’ve stared down the challenge of the unyielding tile and emerged victorious. You’ve proven that with a little knowledge, the right tools, and a dash of calm determination, you can transform your home, one perfectly drilled hole at a time. It’s a small victory, perhaps, but in the grand scheme of creating a home you love, it’s a genuinely delightful one.