How To Drill Hole In A Rock
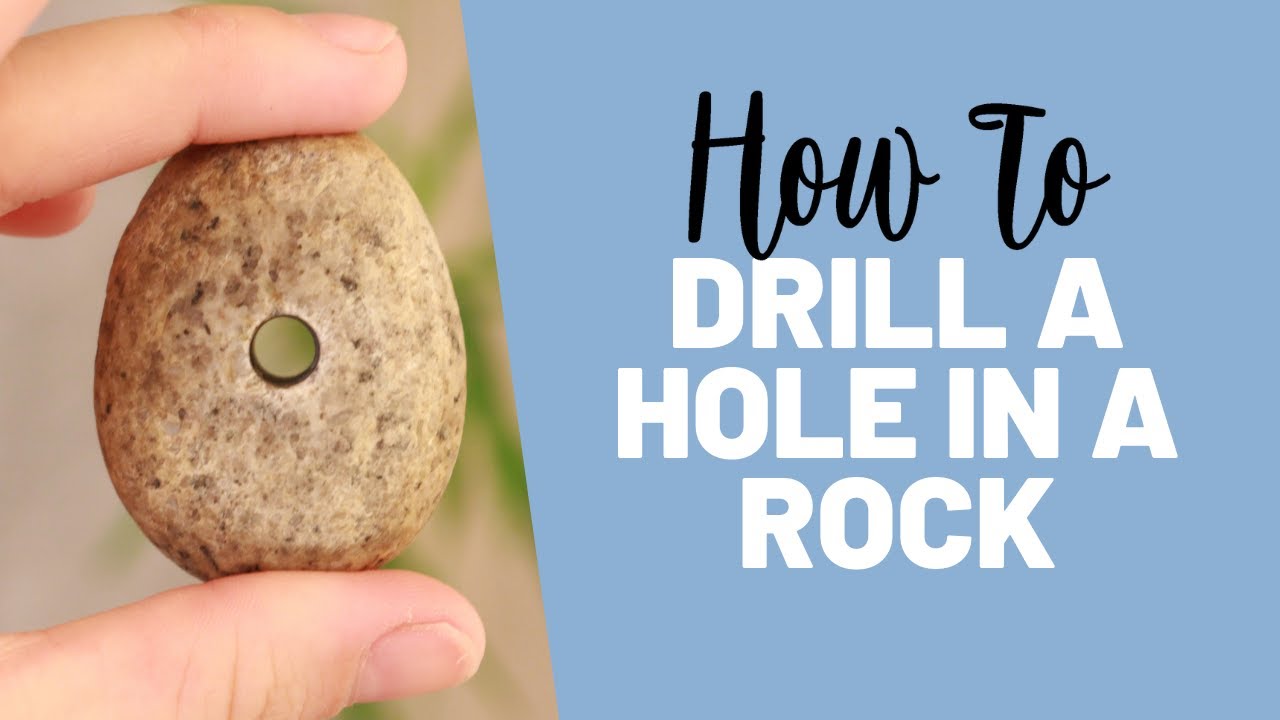
So, you've got a rock. Not just any rock, mind you. This is a rock that speaks to you. Maybe it's smooth and perfectly egg-shaped, begging to be a worry stone. Or perhaps it's a chunk of something sparkly, hinting at hidden treasures. Whatever its story, you've decided it needs a hole. A perfectly placed, beautifully drilled hole. Don't panic, fellow rock enthusiast! It's not as scary or complicated as it sounds. In fact, it’s a little bit like coaxing a secret out of a stubborn friend.
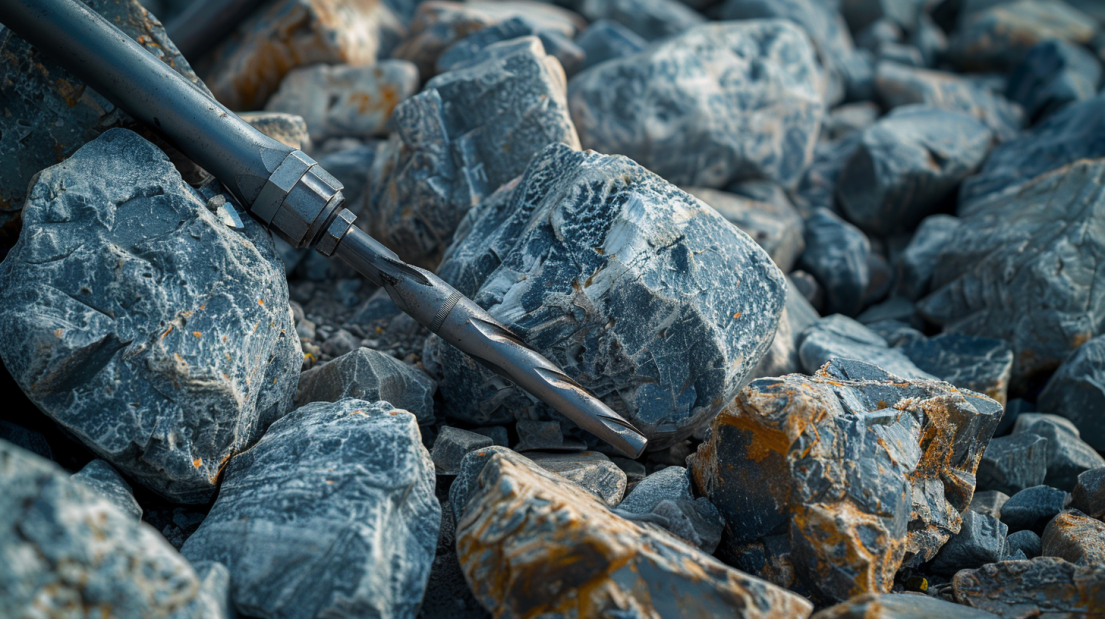
First things first, let's talk about your drill. It doesn't need to be a titanium-plated, space-age marvel. Your trusty cordless drill, the one you use to hang pictures and assemble flat-pack furniture, is probably just fine. The real magic lies not in the drill itself, but in its fancy little friend: the drill bit. Think of the drill bit as the key that unlocks the rock's inner core. For most rocks you'll be tempted to drill – think pretty river stones, geodes that didn't quite crack open right, or even those smooth, sea-worn pebbles – a carbide-tipped masonry bit is your best bet. They’re built for tough stuff, like concrete and brick, so a rock is practically a walk in the park for them. You can usually find them at any hardware store, nestled amongst rows of shiny metal things. Imagine them as tiny rock-whisperers.
Now, before you go wild, a moment of calm. This is where the fun really begins. We need to prepare our rock. Give it a good wash. Get rid of any lingering dirt or grit that might be trying to play hide-and-seek. Imagine you’re giving it a spa treatment before its big transformation. Once it’s sparkling clean, lay it on something soft. An old towel, a piece of foam, even a stack of old magazines will do. We don't want our little rock friend rolling away like a runaway bowling ball. Think of it as tucking it into a comfy bed.

Here’s a little secret: rocks, especially the ones we tend to fall in love with, are often surprisingly thirsty. Water is your friend. A lot of a friend, actually. Before you even think about pressing that trigger, get some water involved. You can use a spray bottle, a small cup, or even a slow drip from a hose if you’re doing this outdoors. The water serves a couple of important purposes. For starters, it keeps the drill bit cool. Metal getting hot against rock can make for unhappy drill bits and even unhappier rocks. Plus, it helps to wash away the dust that's created as you drill. Nobody likes a dusty transformation, right? So, picture this: a gentle shower for your rock as it undergoes its metamorphosis.
Now, for the main event. Position your drill bit where you want your hole to be. Don't be shy, but don't be aggressive either. It's all about gentle persuasion. Start with the drill on a slow speed. Let that little carbide tip kiss the rock’s surface. You’re not trying to power through; you're trying to make friends. As you feel the bit start to bite, you can slowly increase the speed. Keep that water flowing! If you can, try to keep the drill perpendicular to the rock’s surface. Imagine you’re drawing a perfectly straight line into the rock’s soul.
There will be moments when it feels like you’re making zero progress. This is normal. Rocks are, by nature, a bit stoic. Just keep a steady hand, a gentle pressure, and that ever-important stream of water. Sometimes, you’ll see little clouds of rock dust swirling around the drill bit. That’s the rock exhaling its ancient secrets. And then, almost without you realizing it, you’ll feel a shift. A slight give. You’re breaking through! It's a triumphant moment. You’ve successfully persuaded that rock to reveal a new side of itself. Think of it like a tiny victory dance for both you and the rock.
As you push through, ease up on the pressure. You don't want to accidentally blast a huge chunk off the other side, unless that’s the artistic vision, of course! Once the hole is complete, pull the drill bit out slowly. Admire your handiwork. You’ve just created a portal, a tiny window into the rock’s hidden depths. What will you do with it? Maybe hang it with a delicate chain, a unique pendant that tells a story only you know. Perhaps thread it onto some leather for a rustic bracelet. Or maybe, just maybe, you’ll simply hold it, feeling the smooth coolness of the rock and the satisfying completion of a task well done. It’s a small act of creation, a connection between you, your tools, and the magnificent, silent world of stones. And isn't that just a wonderful thing?