How To Draw Timeline Chart In Excel
Hey there, coffee buddy! So, you're staring at a bunch of dates and tasks and thinking, "How on earth do I make this look, you know, good?" Excel, right? It's like that trusty old toolbox. You know it can do amazing things, but sometimes you just need a little nudge in the right direction. Today, we're gonna tackle timelines. Yep, those snazzy charts that show you when things are happening. No more boring lists, no more scratching your head. We're making your projects sing!
Honestly, timelines can feel a bit intimidating. Like, are we talking fancy project management software? Nope! We're talking good ol' Excel. The kind you probably already have open. So grab another sip, get comfy, and let's dive in. You've got this, I promise!
The "Why" Behind the Timeline
First off, why bother with a timeline? I mean, can't you just, like, remember when things are due? Hah! If only. But seriously, timelines are your best friend for a few reasons. They give you a visual overview. It's like having a map for your project. You can see the big picture, where you are, and where you're going. Super handy!

Plus, they're great for communicating. Imagine trying to explain a complicated project schedule verbally. Your brain would melt, right? A timeline is like, "Boom! Here's the deal." It's clear, it's concise, and it makes everyone else feel like they're on the same page. No more "Wait, when was that supposed to happen again?" situations. Phew!
And let's not forget the power of anticipation. Seeing potential overlaps or crunch times before they hit? Priceless! It’s like having a crystal ball for your deadlines. You can adjust, reallocate resources, or just brace yourself for that intense week. All thanks to a little visual magic.
Gathering Your Timeline Ingredients
Okay, so before we get our hands dirty in Excel, we need to do a little prep work. Think of it like gathering your ingredients before baking. What do you need for a killer timeline? Well, first and foremost, you need your tasks. What are all the individual things that need to get done? List 'em out!
Then, you need start dates and end dates for each task. This is crucial. Without these, your timeline is just a list of random words. You need to know when things kick off and when they're supposed to wrap up. No guessing allowed here, folks!
Sometimes, you might also want to include things like task dependencies. That's just a fancy way of saying, "This task can't start until that task is finished." Like you can't bake the cake until you've bought the eggs, right? Essential stuff.
And finally, if you're feeling fancy, you might want to add a responsible person for each task. Who's the brave soul tackling this particular item? It adds accountability, which is always a good thing. Keeps things moving, you know?
The "Basic" Timeline: A Simple Start
Alright, ready to open up that glorious Excel spreadsheet? Don't be scared! We're going to start with the simplest way to create a timeline. Think of it as your appetizer. You've got your data ready, right? So, let's get it into Excel.
In column A, you'll have your Task Name. Pretty straightforward. In column B, your Start Date. And in column C, your End Date. Easy peasy, lemon squeezy. You can even add a column for Duration if you want, though we'll mostly be using start and end dates. How convenient!
Now, here's where the magic really begins. We're going to use a little trick with conditional formatting. Don't let that phrase scare you. It just means we're telling Excel to color-code cells based on certain rules. Think of it as giving your spreadsheet a personality!
First, highlight the cells where you want your timeline to appear. This is usually a bunch of empty cells to the right of your task list. Now, go to the 'Home' tab, then 'Conditional Formatting,' and select 'New Rule.' This is where the adventure begins!
In the 'New Formatting Rule' box, choose 'Use a formula to determine which cells to format.' Now, for the formula. This is where we tell Excel to color a cell if it falls within the start and end dates of a task. It looks a little something like this (don't worry, we'll break it down):
=AND(D$1>=date($start_year,$start_month,$start_day),D$1<=date($end_year,$end_month,$end_day))
Wait, what's that `D$1` bit? Good question! This is where you tell Excel which row contains your dates. So, if your dates are listed across row 1 (like Jan, Feb, Mar, etc.), then `D$1` means "check the date in cell D1, and keep checking across row 1." The `$` locks the row, so when you copy the formula down, it always looks at the date row. Clever, huh?
And those `date($start_year,$start_month,$start_day)` bits? You'll replace those with cell references that point to your actual start and end dates for that specific task. So, if your start date for the first task is in cell B2 and your end date is in C2, your formula would look more like:
=AND(D$1>=$B2, D$1<=$C2)
See? We're telling Excel: "Hey, if the date in the header row (D$1) is greater than or equal to the start date for this task (B2) AND less than or equal to the end date for this task (C2), then color this cell!"
Click 'Format,' choose a fill color (something cheerful, maybe a light blue or green?), and then click 'OK' twice. Ta-da! If you've set up your dates correctly across the top (say, in row 1, with each column representing a day, week, or month), you should see those cells light up for your tasks.
Making It Look Pretty
Okay, so you've got colored cells. That's a start! But it might look a bit... blocky. Like a pixelated picture from the 90s. We can do better. Much better.
First, let's make sure your dates across the top are actually readable. If you have a lot of dates, you can make the columns narrower. Or, you can rotate your text! Select the date row, go to the 'Alignment' group on the 'Home' tab, and click that little arrow to open up 'Format Cells.' Under the 'Alignment' tab, you can change the 'Orientation' to be vertical or at an angle. Much cleaner!
What about those empty cells? They're kind of distracting, right? We can make them disappear. Select the cells that contain your conditional formatting. Go back to 'Conditional Formatting,' 'Manage Rules.' Select your rule, and in the 'Applies to' box, you can adjust the range. Or, a simpler approach for visual tidiness: you can change the font color to match the background color for the cells outside your timeline range.
Another trick is to use different colors for different task types or statuses. Remember that conditional formatting thing? You can add more rules! Maybe red for urgent tasks, yellow for tasks in progress, and green for completed. This makes your timeline a rich tapestry of project information. It's like a secret code only you and your colleagues understand!
And let's talk about those task bars. Right now, they might be just a single cell wide. We want them to stretch! If your formula is correct, and your dates are set up correctly, the bars should naturally extend across the relevant period. If they're not, double-check those cell references in your formula. Are you locking the row for the dates (`D$1`) but not for the task's start/end dates (`$B2`, `$C2`)? That's usually the culprit!
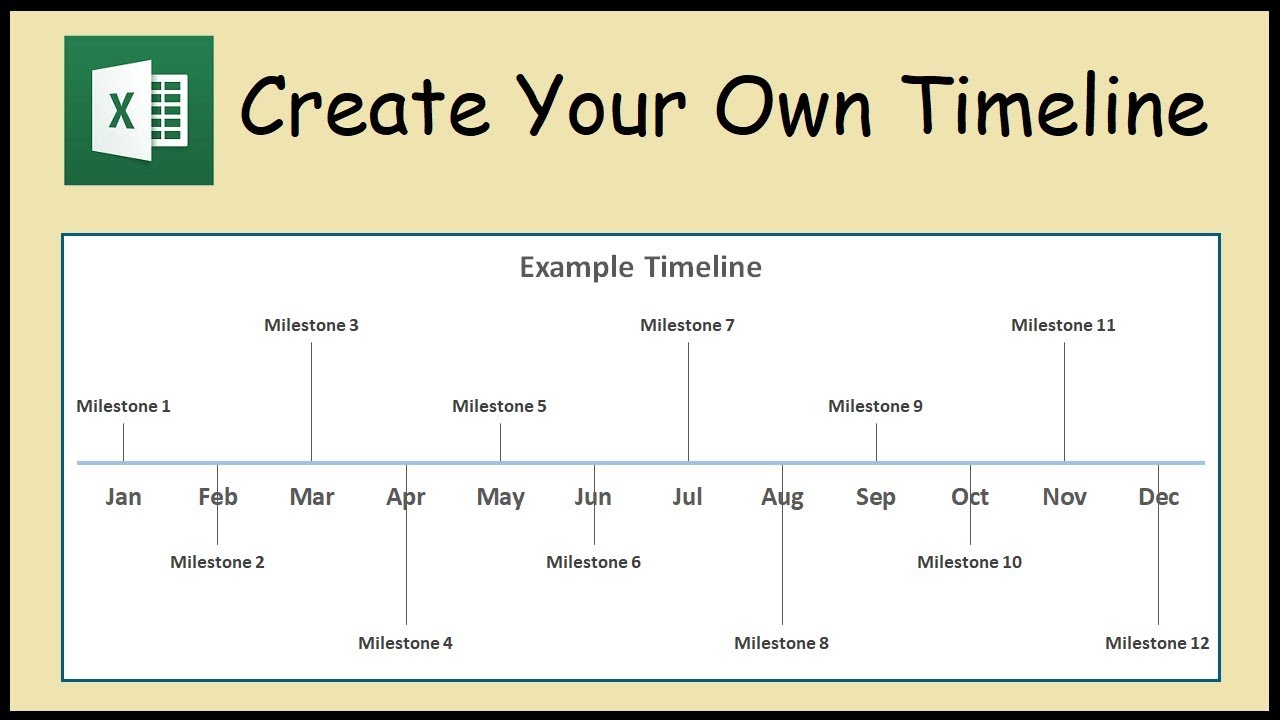
Leveling Up: Adding Milestones
So, you've got your basic timeline humming. Awesome! But what if you have those super important points in your project? The big achievements? Those are called milestones. Think of them as the confetti moments of your project.
For a milestone, it's usually a single event on a specific date. So, instead of a start and end date, you just have a milestone date. How do we represent that on our timeline? Easy!
You can treat a milestone like a task with a start date and an end date that are the same. So, in your data table, if your milestone is "Project Kick-off" on January 15th, your start date and end date would both be January 15th. Your conditional formatting will then color that single day!
Or, for a more distinct visual, you can add a separate column and use a different conditional formatting rule. For instance, you could have a rule that says, "If the cell is not empty AND the task is marked as a 'Milestone' (perhaps in another column), then format it with a special shape, like a diamond or a star." You can do this by choosing a specific font, like Wingdings or Webdings, and then typing a character that corresponds to a diamond or star. It’s a little bit of detective work finding the right character, but totally worth it!
The key is to make your milestones stand out. They're the checkpoints that everyone needs to be aware of. A different color, a different shape – whatever makes them scream, "I'm important!"
The Gantt Chart "Lite" Approach
Now, if you've seen those super-fancy project timelines, you might have heard of a Gantt chart. They're basically timelines with progress bars and all sorts of bells and whistles. Can we create something like that in Excel without going completely nuts? You betcha!
This is where we combine our conditional formatting with a slightly different data setup. Instead of just start and end dates, let's add a column for the duration of each task (in days). So, Task A starts Jan 1st, ends Jan 10th. That's a duration of 10 days.
Now, for your timeline columns, instead of just marking "yes, it's within the range," we can use a different formula. This formula will actually calculate how many days within the visible date range a task falls. This requires a bit more advanced formula wrangling, but it's doable!
A common way to achieve this is by using the `MAX` and `MIN` functions in conjunction with your date calculations. You're essentially telling Excel: "For this specific day on the timeline, calculate how many days the task is active on this day, but only if it falls within the task's start and end dates."
This can get a bit complex formula-wise, and you might end up with a column that shows a number (like '1' if it's active that day, or '0' if it's not). Then, you use conditional formatting on that column. If the value is '1', you fill the cell. This effectively creates those colored bars that represent the task's duration.
Another, perhaps even simpler, approach for a "Gantt-like" feel is to use the Stacked Bar Chart feature in Excel. You still need your task names, start dates, and durations. Then, you insert a 'Stacked Bar Chart.' You'll have your tasks on one axis and the time on the other. The trick here is that you'll have two data series: one for the 'Start Date' (which you'll make invisible) and one for the 'Duration.' By making the 'Start Date' bars transparent, you're left with bars that start at the correct date and extend for the correct duration. Pretty snazzy, right?
Remember to play with the chart formatting! You can change colors, add labels, and remove unnecessary elements. The goal is to make it visually appealing and easy to understand. Think of it as dressing up your data for a party!
Tips and Tricks for Timeline Superstars
Before we wrap up, let's sprinkle in a few extra tips to make you a timeline drawing ninja.
Consistency is Key: Make sure your date formats are uniform. Excel can get fussy if you mix up DD/MM/YYYY and MM/DD/YYYY. Set it once and stick to it. Your future self will thank you.
Locking Your Dates: When setting up your conditional formatting formulas, pay close attention to those dollar signs (`$`). They're like little anchors that tell Excel which parts of the reference should stay put. Incorrectly placed dollar signs are the silent assassins of accurate timelines.
Named Ranges: If you find yourself constantly referring to specific cells or ranges (like your start and end dates), give them a name! Select the range, go to the 'Formula' tab, and click 'Define Name.' Now, instead of typing `B2:B10`, you can type `TaskStartDates`. So much easier to read and manage!
Freezing Panes: When your timeline gets long, you'll want to scroll down your tasks while keeping the dates at the top visible. Or scroll across while keeping your task names on the left. Select the cell below the row you want to freeze and to the right of the column you want to freeze, then go to 'View' > 'Freeze Panes' > 'Freeze Panes.' Magic!
Templates are Your Friend: If you find yourself building similar timelines often, save your workbook as an Excel Template (.xltx). Next time you need a timeline, you can just open a fresh copy of your template. Saves loads of time!
Keep it Simple (Initially): Don't try to cram every single detail into your first timeline. Start with the basics, get it working, and then add more complexity if needed. A clear, simple timeline is infinitely better than a confusing, over-complicated one.
![How to Create A Timeline Graph in Excel [Tutorial & Templates] | Preceden](https://preceden.s3.us-east-1.amazonaws.com/images/tutorials/excel-bar-chart/excel-bar-chart-timeline-19.png)
And there you have it! You've gone from a blank canvas to a functional, and hopefully stylish, timeline in Excel. You've conquered conditional formatting, wrestled with dates, and probably even whispered sweet nothings to your spreadsheet. You are officially a timeline drawing champion. So, go forth and visualize your projects like a pro. Now, about that second cup of coffee...