How To Convert Cassette Tape To Cd
Remember those mixtapes? The ones you painstakingly recorded from the radio, hitting 'record' and 'play' at just the right moment, hoping to catch your favorite song without the DJ's cheesy intro? Or maybe it was that family gathering recording, filled with laughter and slightly off-key singing. These precious sonic memories are probably tucked away in a box somewhere, gathering dust. But what if I told you there’s a way to give those old cassette tapes a new lease on life? Yep, we’re talking about bringing them into the digital age, specifically by converting them to CDs!
Now, I know what you’re thinking. Cassette tapes? CDs? Aren't those, like, ancient history? And aren't we all about streaming music these days? Well, yeah, mostly. But there's something undeniably special about physical media, isn't there? It’s like finding a forgotten photo album. And when it comes to those old tapes, they hold more than just songs; they hold memories. Think about it: that album you loved in high school, the podcast your dad used to listen to on long drives, the sound of your childhood dog barking. These are things that streaming services just can’t replicate.
So, why bother with this whole cassette-to-CD conversion thing? For starters, it’s a fantastic way to preserve your audio history. Cassette tapes, bless their magnetic hearts, aren't exactly built for eternity. They can degrade over time, get tangled, or simply disappear into the void of forgotten technology. CDs, while not exactly invincible, are a much more stable format. They're less prone to the physical decay that can plague our beloved tapes.

Plus, let’s be honest, fiddling with a cassette player can be a bit of a hassle. You know, the whole “I have to rewind this manually” and the occasional “uh oh, is that a tape jam?” moments. Converting to CD means you can pop your music or memories into a regular CD player, a computer, or even transfer them to your phone for on-the-go listening. Talk about convenience!
And then there’s the sheer joy of rediscovery. Imagine unearthing a tape you haven’t heard in decades and being able to listen to it clearly, crisp and clean, on a modern device. It’s like finding a hidden treasure chest of sound. It's a trip down memory lane, but one where you can actually hear the journey clearly!
So, How Do We Actually Do This Magic Trick?
Alright, you’re intrigued. You’ve got that box of tapes calling your name. How do we bridge the gap between fuzzy analog sound and the shiny digital world? It's not as daunting as it might sound, and there are a few different paths you can take, each with its own charm. Think of it like choosing your adventure for audio preservation.
Option 1: The DIY Path (For the Adventurous Soul)
This is where the real fun begins, or at least where you get your hands a little dirty. You’ll need a few key pieces of equipment. First and foremost, you’ll need a working cassette player. And not just any cassette player; you'll want one that sounds decent. A dusty old boombox might work in a pinch, but for better quality, a good quality tape deck or even a portable cassette player with a good output jack is ideal.
Next up, you'll need a way to connect that cassette player to your computer. This is where an audio cable comes in. Most cassette players have a headphone or line-out port. You'll need a cable that connects from that port to your computer's microphone or line-in port. Think of this cable as the bridge, the secret tunnel connecting your old world to your new one.
Once you’ve got your hardware sorted, it’s time for the software. On your computer, you’ll need some audio recording software. There are plenty of free options out there, like Audacity, which is fantastic and surprisingly powerful for a free program. It’s like your digital Swiss Army knife for audio. You’ll use this software to capture the sound coming from your cassette player.
The process then goes a little something like this: plug your cassette player into your computer, open up your recording software, hit record on the software, and then press play on your cassette. Let it play through the entire tape. Don’t rush it! This is where patience pays off. Once the tape is finished, you stop recording. You’ve just captured your analog audio in a digital format!
Now comes the editing. This is where you can clean up any unwanted noise, trim the beginning and end, and maybe even split the recording into individual tracks if you’re feeling ambitious. Think of this as polishing a rough gem. Once you’re happy with your digital recording, you can then burn it onto a CD. Most computers have CD-burning software built-in, or you can easily find free programs for this too. It’s like packaging your treasure for safekeeping!
This DIY route is incredibly rewarding because you’re doing it all yourself. You’re the curator, the engineer, the archivist! It’s a bit like learning to knit your own sweater instead of buying one off the rack – you appreciate it a whole lot more.
Option 2: The Gadget Route (For the Tech-Savvy Simplicity Seeker)
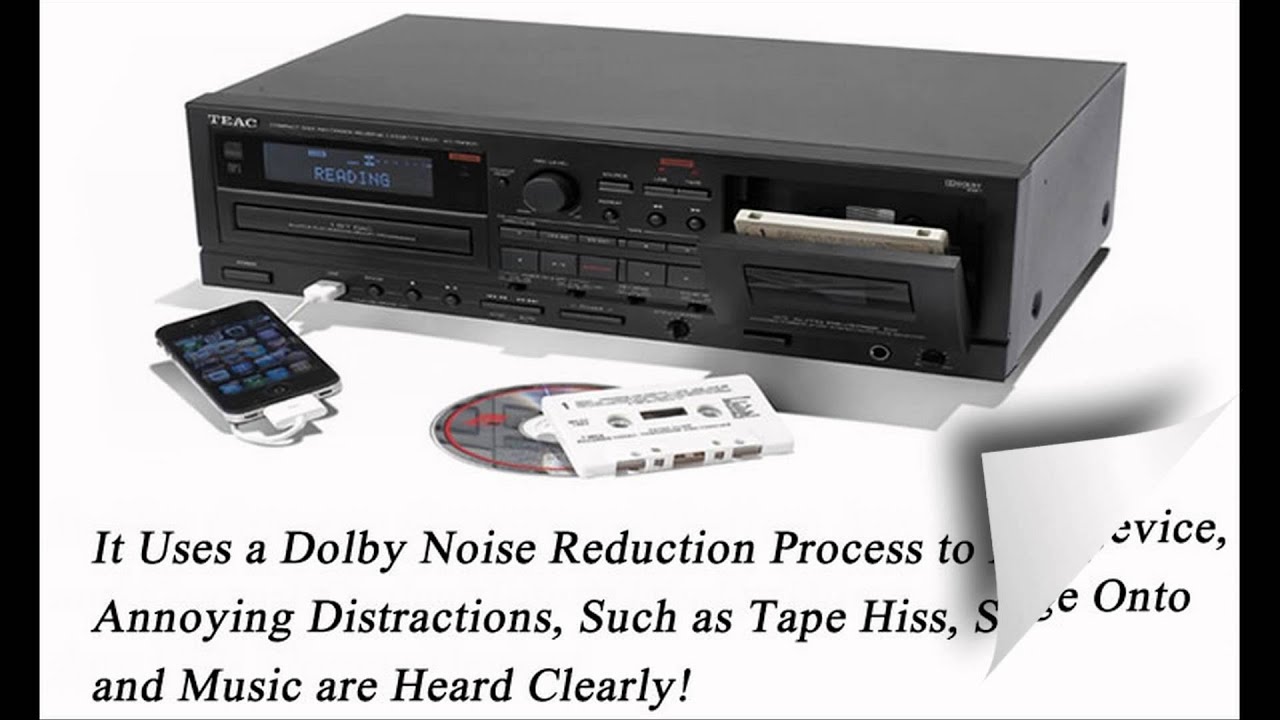
If the idea of fiddling with cables and software sounds a little too much like homework, don’t worry! There are gadgets designed specifically for this purpose, making the process much more straightforward. These are often called cassette-to-digital converters or USB cassette players.
These handy devices usually look like a portable cassette player, but they have a USB output. You simply plug the device into your computer via USB, put in your cassette, and use the software that usually comes with the converter (or sometimes just your computer's built-in recording tools) to capture the audio. It’s like having a magic wand for your tapes!
These gadgets often streamline the process significantly. You’re not dealing with multiple cables and separate recording software as much. It’s a more integrated, user-friendly experience. They’re designed to get you from tape to digital file with minimal fuss. Once you’ve got the audio on your computer, you can then proceed to burn it onto a CD, just like in the DIY method.
This is a great option if you have a lot of tapes to convert or if you just prefer a more plug-and-play solution. It’s like upgrading from a manual car to an automatic – still gets you to your destination, just with less shifting!
Option 3: The Professional Service Route (For the "I Just Want It Done" Crowd)
Finally, if you’re short on time, patience, or just really, really value your sanity, there are professional conversion services. You send your precious tapes off to them, and they do all the hard work for you. They’ll have all the fancy equipment and expertise to get the best possible transfer. You’ll get back your original tapes along with your newly minted CDs.
This is probably the easiest option, but it’s also usually the most expensive. It’s like hiring a chef to cook you a gourmet meal instead of doing it yourself. You get the delicious results without the preparation. For really important or rare recordings, this might be the route to consider to ensure the highest quality and the least risk of damage.
A Few Extra Tips for Your Sonic Journey
No matter which method you choose, here are a few things to keep in mind:
- Clean your tapes: Before you even start, gently clean the heads of your cassette player with some isopropyl alcohol and a cotton swab. This will improve sound quality significantly.
- Test your tapes: Play a bit of each tape first to make sure it’s not completely degraded or tangled. You don't want to discover a tape is unplayable halfway through the conversion!
- Label everything: Keep track of which tape is which, and what you’ve converted. Future you will thank you!
- Embrace the imperfections: Sometimes, the magic of old tapes is in their slight fuzziness or the occasional pop. Don't strive for absolute perfection; sometimes, a little bit of analog charm is exactly what you want.
So there you have it! Converting your cassette tapes to CDs is a wonderful way to reconnect with your audio past. It’s a project that’s both practical and sentimental. It’s about saving those sonic snapshots, those auditory memories, and making sure they can be enjoyed for years to come. So go on, dust off those tapes, pick your path, and get ready to rediscover the sounds that shaped you. Happy converting!