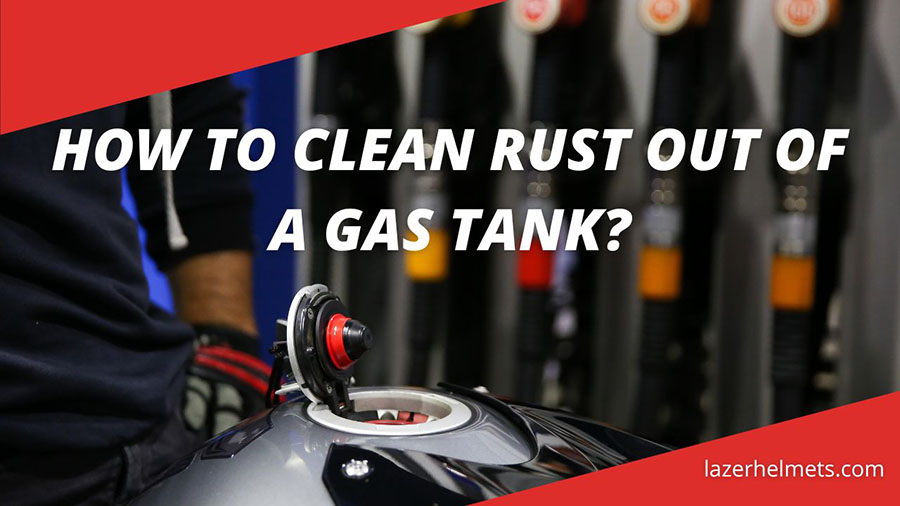
How To Clean Rust Out Of A Motorcycle Gas Tank

Hey there, fellow road warriors and garage tinkerers! Ever gaze lovingly at your trusty motorcycle, a gleaming two-wheeled steed ready for adventure, only to discover a hidden menace lurking within its fuel tank? We're talking about rust, that insidious orange intruder that can turn your dream ride into a sputtering, coughing disappointment. But don't despair, my friends! Cleaning rust out of a motorcycle gas tank might sound like a daunting, greasy ordeal, but trust me, it’s not only totally doable, but it can actually be a surprisingly satisfying and even fun little project. Plus, a clean tank means a happy engine, and a happy engine means more epic rides – and who doesn't want more epic rides?
Think of it like this: you're not just cleaning a tank; you're performing a vital rejuvenation for your motorcycle's heart. It’s like giving your bike a much-needed spa treatment, a detox for its insides. And the feeling you get when you see that shiny, rust-free metal is simply priceless. It’s a little victory, a testament to your dedication, and a promise of smooth miles ahead. So, grab your favorite beverage, put on some tunes, and let’s dive into the wonderfully weird world of rust removal!
The Rusty Truth: Why It Happens and Why It's a Big Deal
So, how does this orange menace even get in there? Usually, it’s a combination of moisture and time. If your bike sits for a while, especially in humid conditions, or if there’s even a tiny bit of water that gets past your fuel cap, that unprotected steel or iron inside your tank starts to oxidize. It’s like leaving a nice iron skillet out in the rain – not a good look. And why is it a big deal? Well, those little rust particles can clog up your fuel filter, your carburetor jets, or even your fuel injectors. This leads to all sorts of unpleasantness: poor performance, stalling, rough idling, and generally making your bike a pain in the… well, you get the idea.

But here’s the good news: this is a fixable problem! You don't need to be a master mechanic to tackle this. With a little patience and the right approach, you can bring your fuel tank back to its former glory. It's all about understanding the process and having a bit of faith in your own abilities. You’ve got this!
Gearing Up: What You'll Need for Your Rust-Busting Mission
Before we get our hands dirty (or at least a little grimy), let’s gather our supplies. Think of this as your rust-removal arsenal. You don’t need anything super fancy or expensive.
The Essential Kit:
- Safety First! Safety glasses and gloves are a must. You don't want rust flakes or cleaning solutions in your eyes or on your skin.
- A Good Tank Cleaner/Rust Remover: There are several excellent products out there specifically designed for this. Popular choices include Evapo-Rust, POR-15, or even a homemade solution of white vinegar. We’ll talk more about options in a bit!
- A Drain Pan: To catch all that old fuel.
- A Funnel: For safely pouring liquids.
- A Garden Hose or Access to Water: For rinsing.
- Something to Agitate: This could be small pebbles, ball bearings, or even clean nuts and bolts. They act like tiny scrubbers inside the tank.
- A Sealant (Optional but Recommended): Once your tank is clean and dry, sealing it is a fantastic way to prevent future rust. POR-15 is a popular choice here too.
- Patience and a Positive Attitude: This is probably the most important ingredient!
Having everything ready before you start will make the process so much smoother. It’s like preparing your ingredients before cooking a gourmet meal – it makes the whole experience more enjoyable and less frantic.
The Step-by-Step Symphony of Rust Removal
Alright, let's get down to business. This is where the magic happens, the transformation from rusty relic to gleaming sanctuary for gasoline.
Step 1: Drain and Assess
First things first, safely drain all the old fuel from your tank into your drain pan. Be mindful of fumes, so do this in a well-ventilated area. Once empty, take a peek inside. You’ll likely see the extent of the rust. Don't be discouraged if it looks bad – remember, we're going to fix it!
Step 2: The Great Rinse
Give the tank a good rinse with water. This helps to remove any loose debris. You can slosh some water around inside and then drain it out. This is like a preliminary shower for your tank.
Step 3: Introducing the Rust-Busting Hero!
Now comes the exciting part: adding your chosen rust remover. If you're using a commercial product like Evapo-Rust, follow the instructions on the bottle. Generally, you’ll fill the tank with the solution, ensuring all the rusty areas are submerged. If you're using white vinegar, fill the tank with it. It’s a natural acid and works surprisingly well!
Step 4: The Waiting Game (and Gentle Agitation)
This is where patience comes in. Let the rust remover do its work. The time will vary depending on the product and the severity of the rust, but it could be anywhere from a few hours to a couple of days. While it's soaking, you can periodically add your chosen agitating items (pebbles, ball bearings, etc.) and gently slosh the tank around. This helps to dislodge the loosened rust. Imagine a tiny, energetic disco happening inside your tank!
Step 5: The Grand Reveal and Rinse Again!
After the soaking period, drain out the rust remover. You’ll likely be amazed at the amount of gunk that comes out. Now, rinse the tank thoroughly with fresh water. You want to get out all traces of the cleaning solution and any remaining rust particles. Keep rinsing until the water runs clear. This is the moment of truth – you’re seeing the results of your hard work!
Step 6: Drying is Key!
This is a critical step. Your tank needs to be bone dry before you proceed. Any residual moisture will start the rust process all over again. You can use a fan to blow air into the tank, or even a hair dryer on a low setting. Some people swear by leaving it in the sun on a hot day. Just make sure it’s completely dry, all the way to the nooks and crannies.
Step 7: Sealing the Deal (Highly Recommended)
Once your tank is perfectly dry and rust-free, it’s a fantastic time to seal it. This creates a protective barrier against future moisture. Products like POR-15 are designed for this and are quite effective. Again, follow the product instructions carefully. This step might add a little more time, but it's a game-changer for the long-term health of your tank.
A Sparkling Clean Tank: The Joy of a Smooth Ride
And there you have it! You’ve conquered the rust beast. Take a moment to admire your handiwork. That clean, shiny interior of your gas tank is a thing of beauty. It’s a promise of reliable power, smooth acceleration, and those exhilarating rides you’ve been craving. No more sputtering, no more worrying about fuel line blockages. Just pure, unadulterated motorcycle bliss.
This process isn't just about fixing a problem; it's about empowerment. You've learned a new skill, you've saved yourself some money, and you've contributed to the longevity and performance of your beloved machine. It’s a tangible win, a testament to your willingness to get your hands dirty and make things better. That feeling of accomplishment is incredibly rewarding, and it might just inspire you to take on other maintenance tasks you never thought you could.
So, the next time you’re out on the open road, feeling the wind in your hair and the rumble of your engine beneath you, remember the little victory you achieved in your garage. You’ve brought your bike back to its best, and that’s something to be truly proud of. And who knows, maybe this rust-busting adventure has ignited a spark. Perhaps you’re now curious about other ways to keep your motorcycle running in tip-top shape. The world of motorcycle maintenance is vast and rewarding, and this is just the beginning. Keep exploring, keep learning, and keep those wheels turning!