How To Clean A Kitchen Aid Whisper Dishwasher
Alright folks, gather ‘round and let me tell you about a true domestic warrior. We’re talking about the KitchenAid Whisper Dishwasher. Now, some folks might think dishwashers are just glorified water cannons that hum a lullaby while blasting away grime. And yeah, that’s partially true. But this KitchenAid? It’s like a ninja in your kitchen, silently vanquishing rogue pasta sauce and stubborn cheese residue. And like any good ninja, it needs a little pampering now and then to keep it at peak performance. So, if your whisper-quiet helper has started sounding more like a grumpy badger after a particularly tough night, it’s time for a spa day. A DIY spa day, of course. Because who has time to book an actual spa when there’s a mountain of dirty dishes staring you down?
First things first, let’s talk about why we’re even doing this. You might be thinking, “It’s a dishwasher, doesn’t it… wash itself?” Oh, you sweet summer child. While it’s doing its valiant job on your plates, a few things can happen. Think of it like this: your dishwasher is a chef in a fancy restaurant. It’s whipping up culinary masterpieces (your clean dishes!), but it’s also dealing with spills, splashes, and the occasional rogue olive pit. Eventually, even the most dedicated chef needs to wipe down the counters, right? Same goes for our beloved KitchenAid.
The biggest culprits for a sluggish dishwasher are usually food particles and mineral deposits. You know those little bits of leftover spaghetti sauce that decide to go on a grand adventure instead of down the drain? Yeah, those. And then there’s the hard water situation. If your tap water is as hard as a teenager’s refusal to do chores, those mineral deposits can build up like tiny, stubborn barnacles. They don’t just look unsightly; they can actually impede the dishwasher’s ability to, well, wash.
The Grand Unveiling: Operation Kitchen Aid Clean-Up!
Before we get all CSI: Dishwasher Edition on you, let’s do a quick safety check. Make sure the dishwasher is completely turned off at the breaker. I know, I know, it’s tempting to just yank the plug, but for a true deep clean, the breaker is the way to go. We don’t want any surprises, like a sudden blast of hot water or a rogue spinning arm deciding to introduce itself to your knuckles. Safety first, then sparkling dishes!
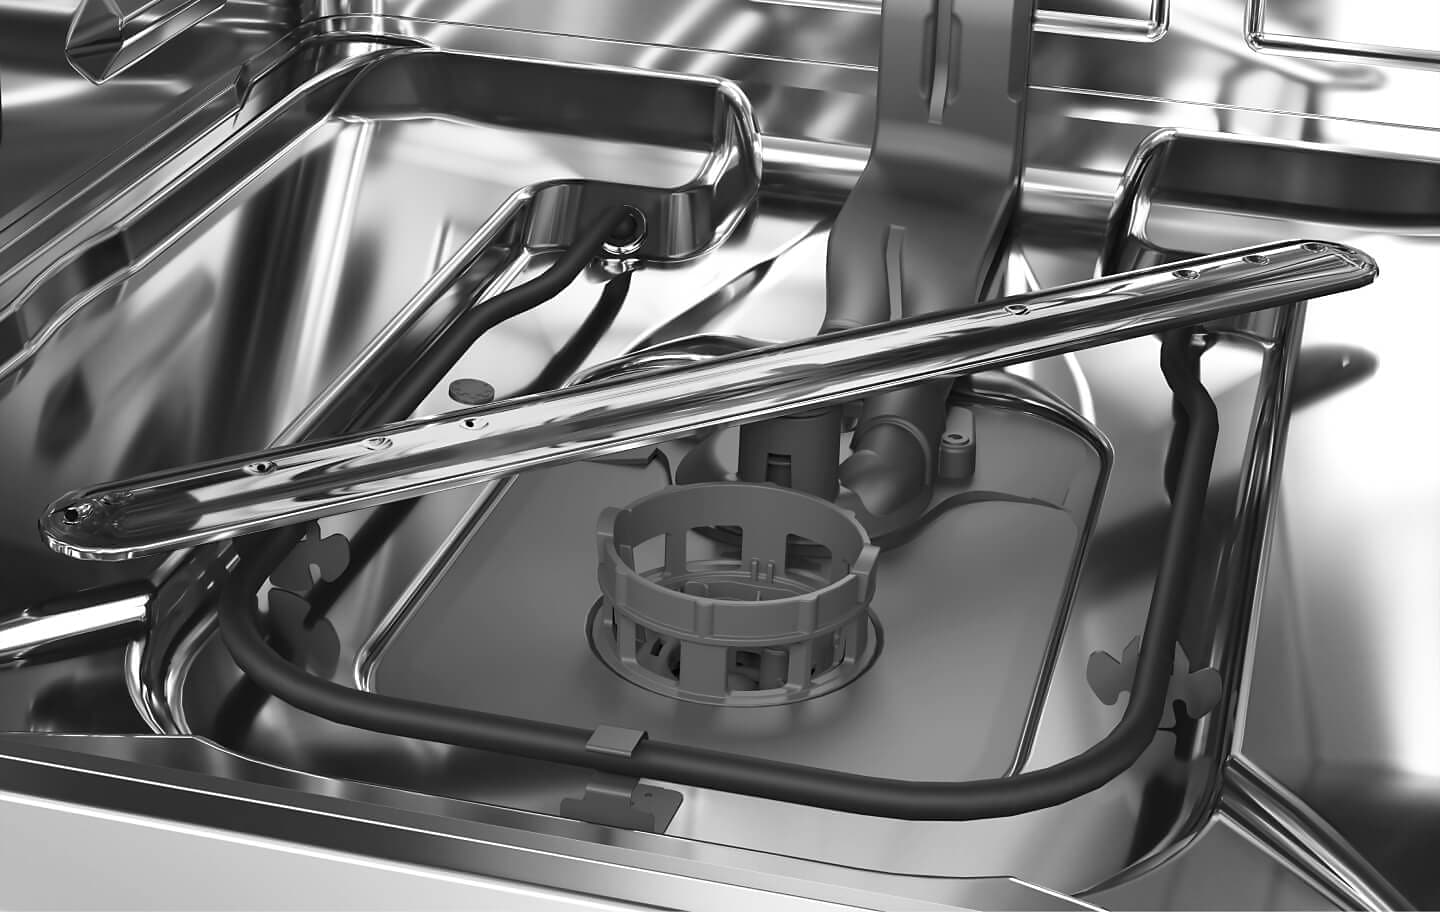
Step 1: The Filter Fiasco – Where the Magic (and the Mess) Happens
This is where the real adventure begins. Most KitchenAid dishwashers have a filter at the bottom, and let me tell you, this is the belly button of your dishwasher. It’s where all the food debris goes to retire. And sometimes, it throws a retirement party that gets a little… messy. You’ll usually find it right at the bottom of the tub, often a cylindrical piece that twists out. Consult your owner’s manual if you’re feeling unsure. They're surprisingly helpful, even if they read like they were written by a particularly enthusiastic robot.
Once you’ve located and removed this little guy, prepare yourself. It might look like it’s been through a food fight and lost. Rinse it thoroughly under hot running water. Use an old toothbrush or a soft brush to get any stubborn gunk off. Think of it as giving it a much-needed scrub after a long, hard day of… well, filtering. Seriously, you’d be amazed what can get lodged in there. I once found a rogue cashew that looked like it was planning a hostile takeover of my rinse cycle.
If it’s really gunked up, a little bit of dish soap can help. Just make sure you rinse it exceptionally well after. You don’t want your next load of dishes tasting faintly of lemon-scented detergent, unless that’s your thing. Then, by all means, go wild!
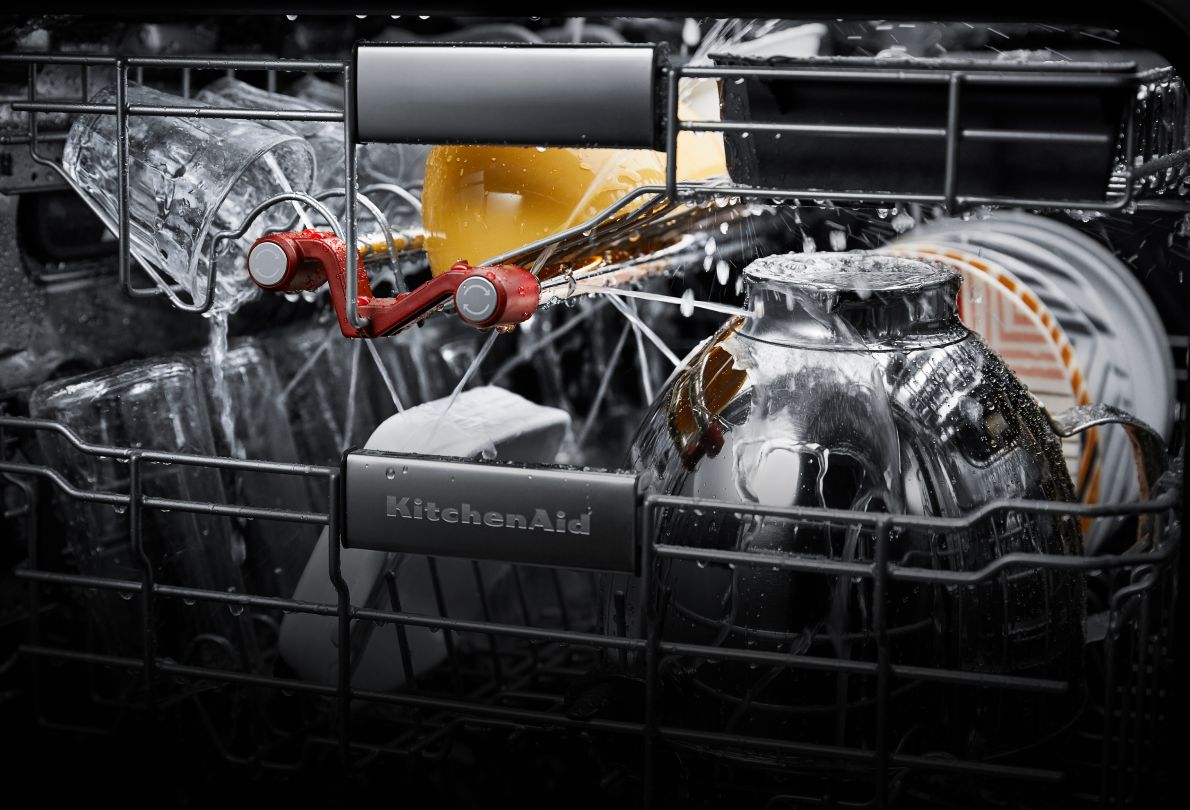
Step 2: The Spray Arm Safari – Unleashing the Water Jets of Power
Next up, let’s tackle those spray arms. These are the unsung heroes, the whirling dervishes that blast water all over your dishes. Over time, the little holes (or nozzles) can get clogged with mineral deposits or tiny food bits. It’s like your spray arm has a bad case of the sniffles and can’t get its message out.
You can usually remove the spray arms by unscrewing them or simply pulling them off. Again, your trusty owner’s manual is your best friend here. Once they’re out, inspect those little holes. If you see anything blocking them, use a toothpick or a fine needle to carefully poke them clear. Be gentle, though! We don’t want to break these bad boys.
Some people swear by soaking the spray arms in vinegar for an hour or two to dissolve mineral deposits. This is especially good if you have a particularly aggressive hard water situation. Just remember to rinse them thoroughly afterward. We’re going for clean, not pickled!
Step 3: The Tub Tidy – Making the Inside Sparkle
Now, let’s give the inside of the dishwasher some love. Think of this as the deep-cleaning equivalent of giving your car a good interior detailing. For general grime and minor stains, a damp cloth with a bit of dish soap will do the trick. Wipe down the interior walls, the door gasket (that rubber seal around the door – it can hide all sorts of nasties!), and the bottom of the tub.
For those tougher mineral deposits or stubborn stains, it’s time for the secret weapon: white vinegar. Seriously, this stuff is a miracle worker. Pour about 2 cups of white vinegar into a dishwasher-safe bowl or cup and place it on the top rack of your empty dishwasher. Run a hot water cycle. The vinegar will work its magic, breaking down mineral deposits and deodorizing your machine. It’s like a natural spa treatment, but for your appliance!
Alternatively, you can buy specialized dishwasher cleaning tablets. These are super easy to use – just pop one in and run a cycle. They’re formulated to tackle grease, grime, and those pesky mineral build-ups. Think of them as tiny, potent cleaning bombs going off in your dishwasher.
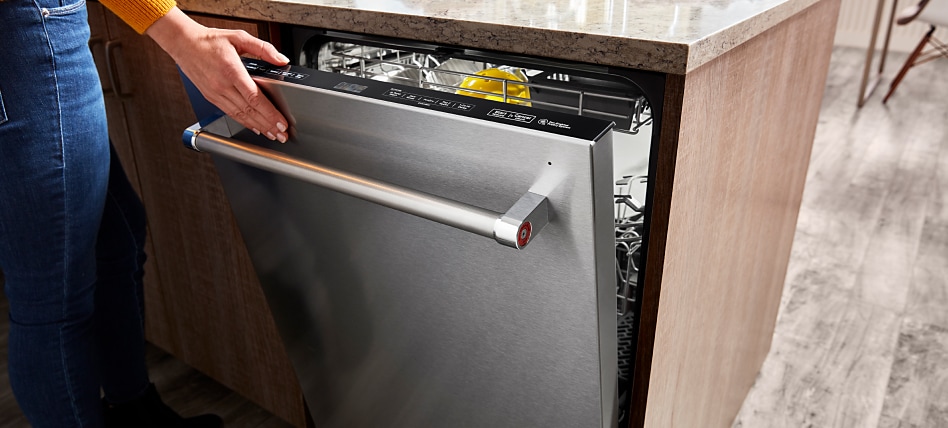
Step 4: The Exterior Elegance – Keeping the Outside Chic
Don’t forget the outside! Your KitchenAid dishwasher is probably a statement piece in your kitchen, so let’s keep it looking sharp. For stainless steel models, use a microfiber cloth and a dedicated stainless steel cleaner. Wipe in the direction of the grain to avoid streaks. For other finishes, a damp cloth and a mild all-purpose cleaner should do the trick.
Pay attention to the control panel. Sometimes food splatters can get stuck there, making it look like a Jackson Pollock painting of dinner. A gentle wipe is all it needs. And while you’re at it, give the door handle a good clean too. You touch that thing a million times a day!
The Grand Finale: The Whisper Returns!
Once you’ve completed your cleaning extravaganza, reassemble everything, turn the breaker back on, and run a short, hot water cycle without any dishes. This will rinse away any residual cleaning agents and leave your dishwasher smelling fresh and ready to tackle its next mission.
You might be surprised at how much quieter and more efficient your dishwasher becomes. That disgruntled badger impression? Gone. Replaced by its original, serene whisper. It’s like you’ve given it a new lease on life. So, there you have it! A clean dishwasher is a happy dishwasher, and a happy dishwasher means cleaner dishes for you and a more peaceful kitchen symphony. Now go forth and conquer those dishes, my friends!