How To Change Two Prong Outlet To Three Prong

Imagine your favorite cozy armchair, the one that perfectly cradles you after a long day. Now imagine that armchair suddenly sprouted a third, very important leg. That’s kind of what we’re talking about here, but instead of a chair, it’s your trusty wall outlet!
We’re going to embark on a little adventure, a DIY quest if you will, to give those older, two-pronged outlets a bit of a glow-up. Think of it as upgrading from a flip phone to a smartphone – same basic idea, but with way more handy features!
So, grab your sense of adventure and maybe a cup of something warm. We’re about to explore the surprising world of electrical outlets and make them a little safer, a little more modern, and dare we say, a little more delightful.
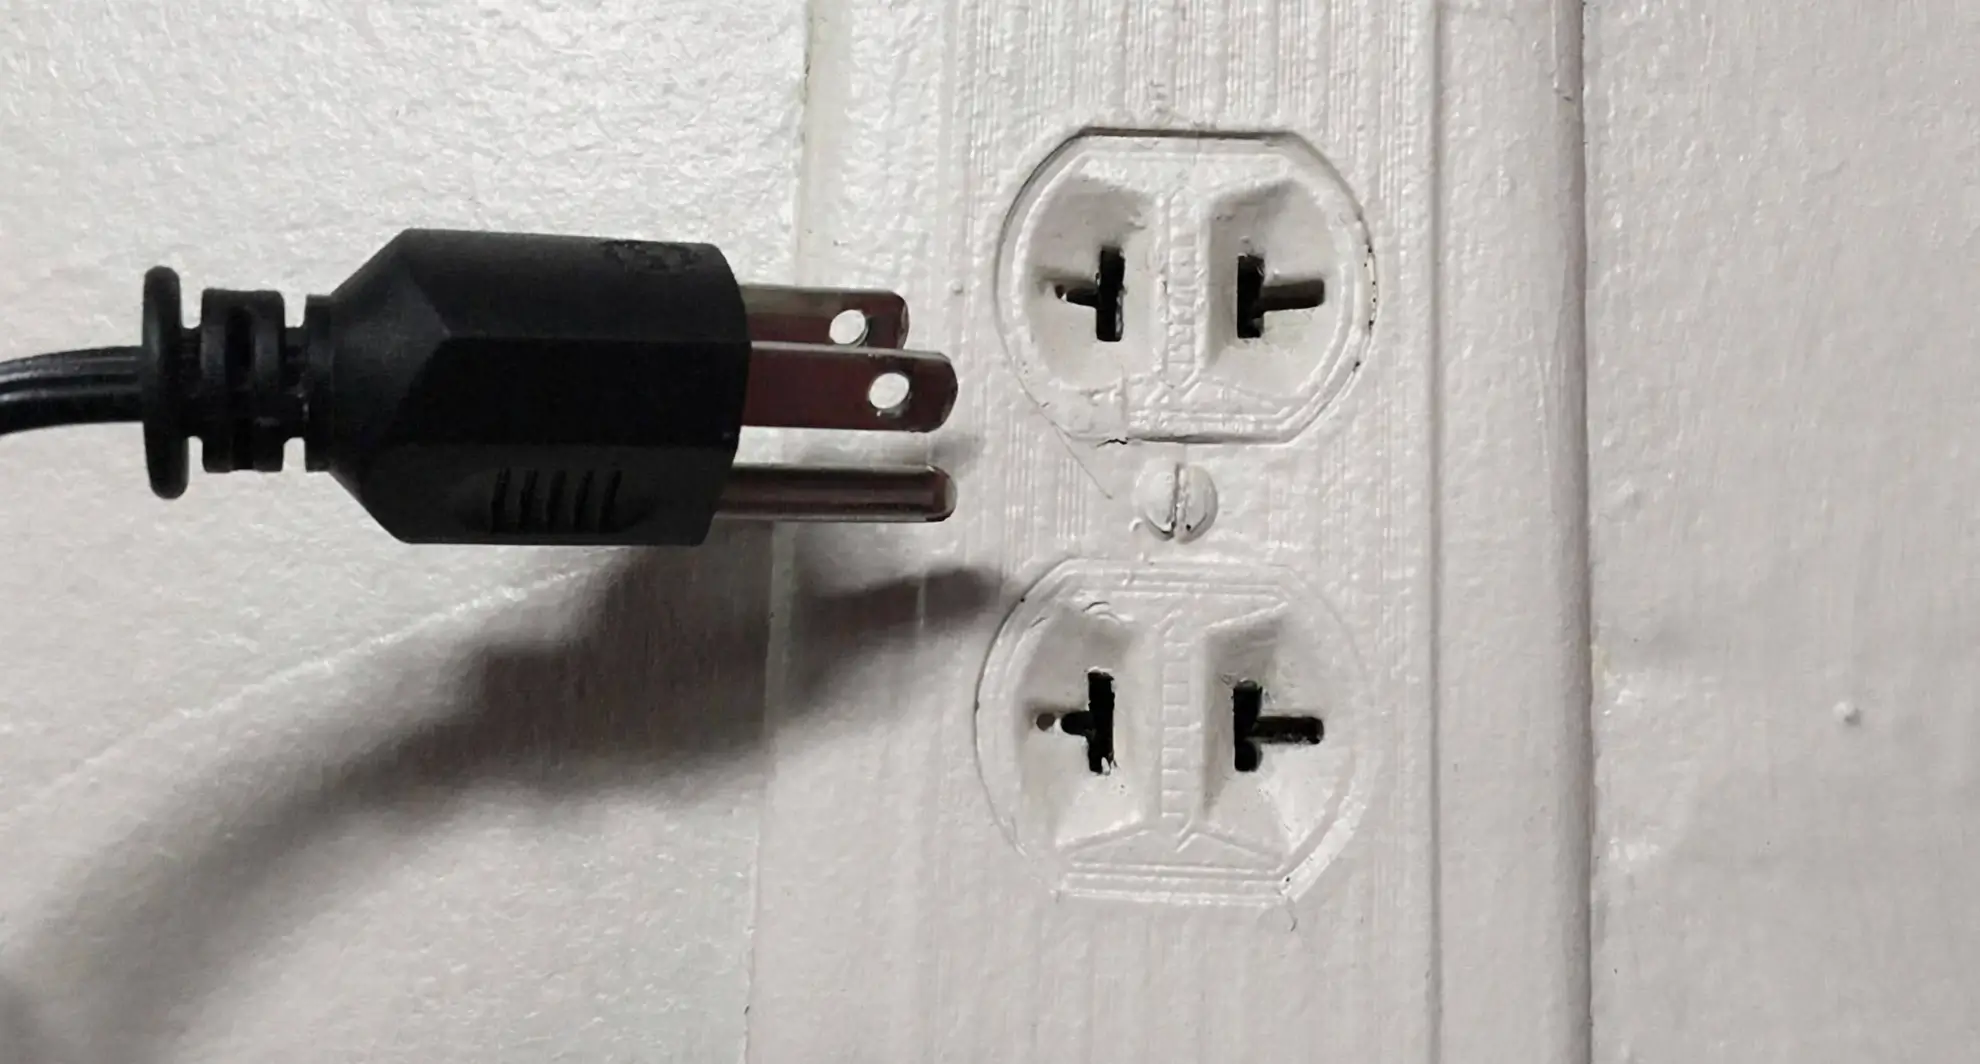
You might have noticed some of your outlets look a bit… vintage. Like they belong in a black and white movie. These are our two-pronged pals, friendly and familiar, but they’re missing a little something extra.
That something extra is a tiny, but mighty, third hole. And that third hole, my friends, is a superhero in disguise. It’s all about keeping things safe and sound when you plug in your beloved gadgets.
Let’s think about your beloved toaster, the one that makes your mornings sing with perfectly browned slices. Or maybe your trusty lamp that bathes your reading nook in a warm glow. These appliances have loved ones, too, and they want to be plugged into the safest haven possible.
This little upgrade is like giving your appliances a hug of security. It’s a way of saying, “Don’t worry, little electronic friends, you’re in good hands!” It’s a small change that can make a big difference.
Now, before we dive headfirst into this electrical wonderland, let’s talk about safety first. This isn’t a game of musical chairs with live wires! It’s a responsible and rewarding project, but it requires a bit of respect for the power at play.
Think of it like learning to bake your grandma’s famous cookies. You follow the recipe, measure carefully, and pay attention to the oven temperature. Electrical work is similar – it’s about precision and understanding the steps.
The first thing to know, even before you touch anything, is that electricity can be a bit… enthusiastic. It likes to flow, and sometimes it flows where we don’t want it to. That’s why we always, always, always turn off the power before we begin.
Imagine a playful puppy that needs to be gently guided. We need to guide the electricity away from our workspace, and that means finding the right breaker switch and flipping it with confidence. It’s like telling the puppy to “stay” until we’re ready to play again.
Once the power is safely off, you can take a closer look at your two-pronged outlet. It’s probably looking a little plain, like a beige sweater in a world of dazzling colors. But it’s about to get a makeover!
You’ll need a few tools for this exciting transformation. Nothing too fancy, just the essentials for our electrical spa day. A screwdriver is usually your best friend here, ready to gently loosen and tighten.
And then, the star of our show: the three-pronged outlet. It looks a little more sophisticated, doesn’t it? It has that extra slot, ready to welcome more grounded connections.
When you remove the old outlet, you’ll see the wires peeking out. Don't be alarmed! These are the veins and arteries of your home's electrical system, and they're about to be reconnected to something new and improved.
You'll typically see two wires: one hot and one neutral. They're like a dynamic duo, working together to bring power to your devices. But the three-pronged outlet wants a third friend to join the party.
This third friend is the ground wire. It’s the safety net, the guardian angel of your electrical circuit. It’s there to whisk away any stray electricity that might try to cause mischief.
Connecting the new outlet is like a puzzle, but a surprisingly straightforward one. Each wire has its designated spot. It’s a neat and tidy arrangement, ensuring everything is connected securely.
The new outlet will have screw terminals, and each wire will find its perfect fit. It’s a bit like tucking your favorite teddy bear into its cozy bed. Everything has its place.
The ground wire, often green or bare copper, usually connects to a green screw. This is its special spot, its designated safety zone. It's the quiet hero of the outlet, always ready to protect.
Then come the hot and neutral wires, which connect to their respective screw terminals. They are the workhorses, ensuring your appliances receive the power they need.
Making sure these connections are snug and secure is important. You don’t want any loose ends, just like you wouldn’t want a wobbly table leg.
Once all the wires are happily connected, you gently push the new outlet back into its place in the wall. It’s like tucking a new, shining star into the night sky.
And then comes the moment of truth: turning the power back on! You flip that breaker switch back, and a little spark of anticipation fills the air.
You can then test your new outlet. Plug in a small, safe device, like a nightlight or a phone charger. If it lights up or starts charging, you’ve done it!
You’ve successfully transformed a vintage outlet into a modern marvel. It’s a small victory, but a significant one for the safety and functionality of your home.
Think about the satisfaction you’ll feel. You’ve taken something old and made it new, improved, and safer. It’s like giving your home a little boost of confidence!
This simple change means that appliances with three prongs, which are generally designed for better safety, can now be fully utilized. No more struggling with adapters or worrying about certain devices.
It’s a subtle but powerful upgrade, like upgrading your favorite song from a demo version to the polished studio recording. Everything just sounds better, works better, and feels better.
And the best part? You did it yourself! You embraced a little challenge, learned a new skill, and made your home a little bit better. That’s a pretty heartwarming feeling, isn’t it?
So, the next time you look at those older outlets, don’t just see them as outdated. See them as an opportunity for a little bit of DIY magic, a chance to bring a touch of modern safety and convenience to your beloved living space.

It’s a small project with a big impact, a testament to how even seemingly small tasks can bring a sense of accomplishment and a touch of wonder to our everyday lives.