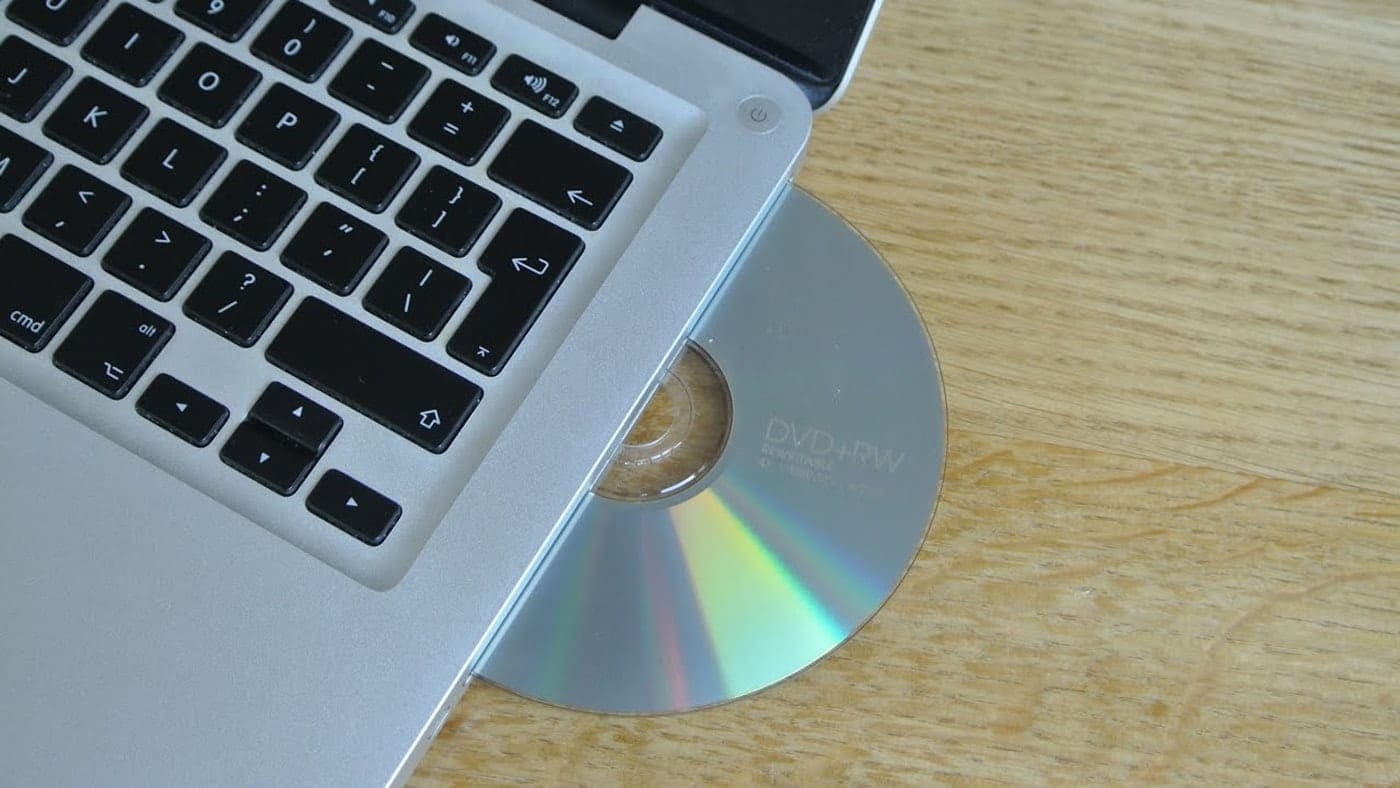
How Do I Eject Disk From Mac

Ah, the elusive disk ejection. A simple act, yet sometimes it feels like a grand quest. You know the feeling. You’re done with that USB drive. Or maybe that ancient CD-ROM that still, inexplicably, lives in your Mac. You want it out. Gone. Vanished into the ether. But the Mac, in its infinite wisdom, might have other plans.
You hover your mouse over the little eject icon. It’s there, taunting you. You click. Nothing. You click again. Still nothing. Is it stuck? Is the Mac playing hard to get? Is it secretly judging your taste in music from 2008 that’s still on that CD?
Fear not, brave adventurer! Ejecting a disk from your Mac doesn't require a secret incantation or a sacrificial offering to the silicon gods. Though, honestly, sometimes a little prayer doesn't hurt.

Let’s start with the most obvious, the one that should always work. You find the disk icon on your Desktop. You know, that little picture that represents your digital burden. See it? Good. Now, grab your mouse (or trackpad, you fancy folk). And drag that little icon. Where, you ask? To the Trash Can. Yes, the Trash Can. Don’t worry, it’s not permanent. It's like putting a toy in a box for safekeeping. Poof! The disk is gone from your desktop. You’ve won this round.
But what if it's not on the Desktop? What if it's lurking in a Finder window? No problem. In the Finder, you’ll see your disk listed on the left-hand side, under "Locations" or something equally descriptive. Next to its name, there’s usually a little tiny arrow. It looks like a minimalist peace sign. Click that arrow. Bam! It’s ejected. So simple, it’s almost rude. Your Mac is like, “Oh, you wanted it out? Here you go. Didn’t need it anyway.”
Now, for the more… persistent disks. The ones that cling like a barnacle to a ship. You've tried the dragging. You've tried the arrow. They remain. What now? It's time for a slightly more direct approach. Open up your Finder. Go to the Go menu at the top of your screen. See it? Right next to "Edit." Click on Go. Then, hold down the Option key on your keyboard. Keep holding it. See that? A new menu option appears: Library. Click on Library. Now, navigate to the Eject menu item. It’s usually right there, waiting for its moment to shine. Select it. And… poof! Disk ejected. It’s like a secret handshake with your Mac.
Sometimes, it's not the disk itself, but the application that's holding onto it. You know, that one app that’s decided to become one with the disk. You try to eject, and your Mac says, “Nope. This app is using it.” Oh, is it now? Well, we can handle that. The easiest way is to try closing the application. Just a simple Command + Q should do the trick. Or click the little red button in the corner. Once the app is closed, try ejecting again. If that doesn’t work, it’s time for the big guns. The Force Quit. Press Command + Option + Escape. A window will pop up, listing all the apps currently hogging your Mac’s resources. Find the offending app. Select it. And click Force Quit. Your Mac might give you a stern warning, like you’re about to send it to detention. Ignore it. Once the app is gone, try ejecting the disk again. Usually, this does the trick. It’s like telling a stubborn toddler, “Okay, fine, if you’re not going to play nicely, you’re going to time out.”
And then there are the times when your Mac is just being a bit… dramatic. You’ve ejected everything. You've closed all the apps. And yet, that little disk icon is still there, mocking you. In these rare, almost mythical situations, a simple restart can work wonders. Go to the Apple menu. Click Restart. Let your Mac do its thing. When it boots back up, that stubborn disk should be gone. It’s the digital equivalent of a deep breath and a fresh start. Sometimes, you just need to hit the reset button, you know?
My personal, and admittedly unpopular, opinion? Sometimes, just… unplugging the USB drive is perfectly fine. Gasp! I know, I know. The tech gurus will faint. But for those tiny, non-essential thumb drives? A quick, firm tug. There. It’s out. Now, before you all start sending me hate mail, I’m not advocating for this with important hard drives or anything with precious data. But for that one USB stick with your vacation photos from 2010? Sometimes, discretion is the better part of valor, and a little bit of brute force is the quickest path to sweet, sweet ejection.
So, there you have it. A few simple ways to get those disks out of your Mac’s digital embrace. Whether it’s the gentle drag, the subtle arrow, the hidden menu, or the theatrical force quit, you’re now armed with the knowledge to conquer the eject command. Go forth and eject with confidence!